• If you currently own, previously owned or want to own an Avalanche, we welcome you to become a member today. Membership is FREE, register now!

Center console build

Sonders

Full Member
Joined
Dec 20, 2010
Messages
431
Location
Corydon, IN
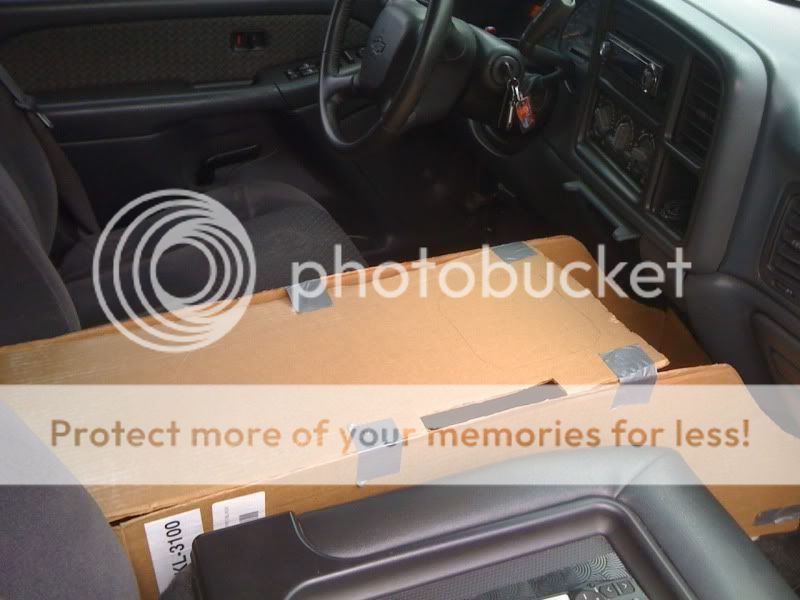
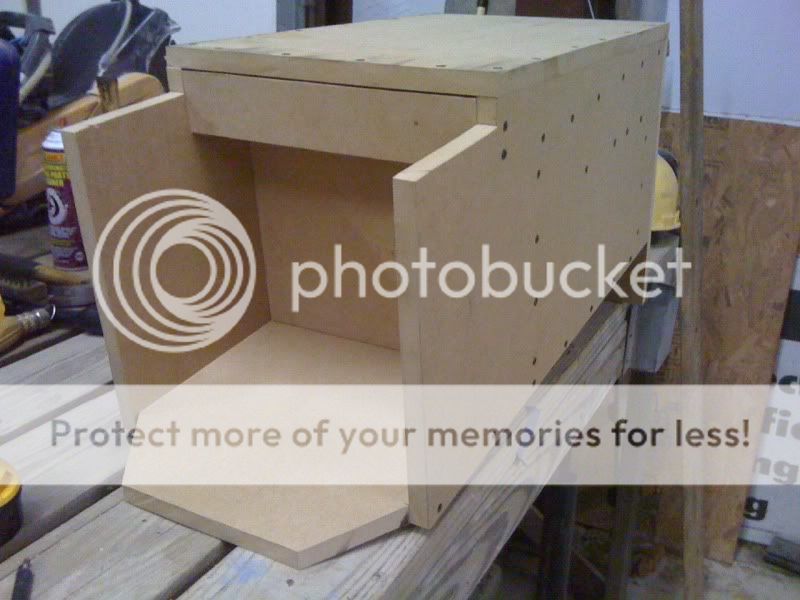
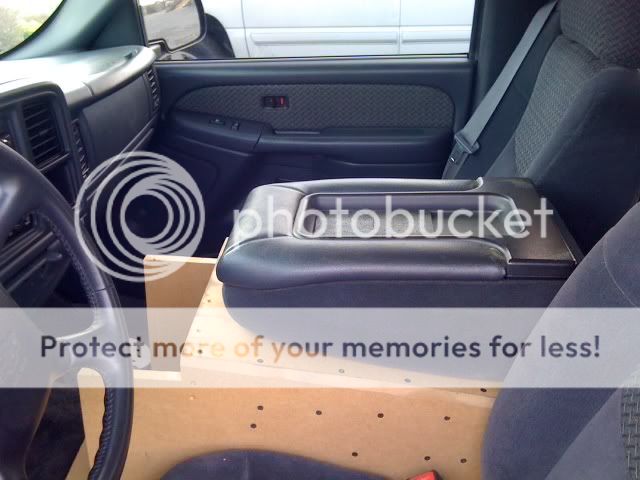
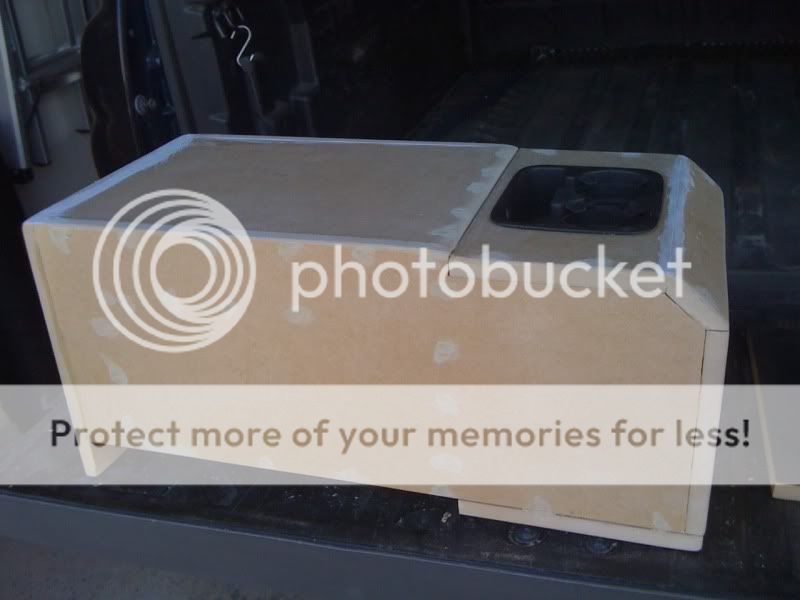
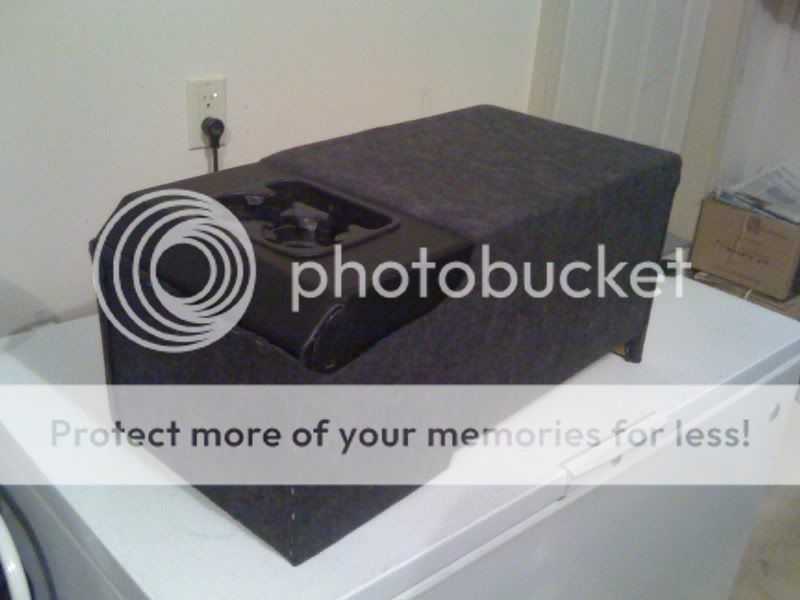
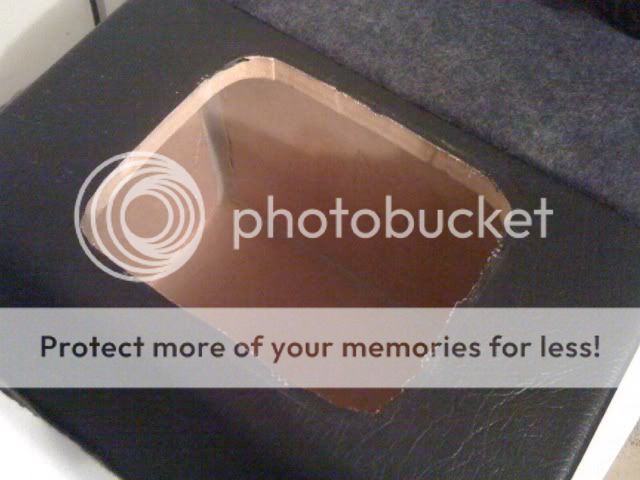
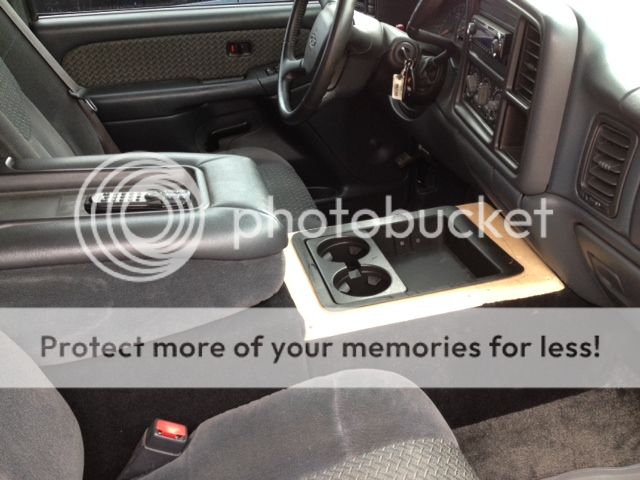
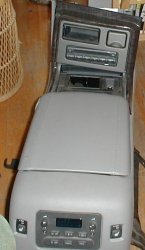
Well, the mdf board is purchased and the jumpseat has been removed, so I guess you could say my new build has begun.  The plan is to build a box for a single downfiring 10" Coustic sub, and have it continue up and tie into the dash.  I'm going to try to reuse the fold down armrest and bolt it to the box and I picked up a oem center console cupholder insert out of the 99-06 bodystyle silverado and tahoe's to go in it as well.  Thinking about making a little cubby to place my iphone in to plug in the aux cable to my headunit as well.  Undecided on what material it will be covered with.  This will be a slow build as spring hits I'll be getting busy at work.  But as it begins..........
passseat.jpg

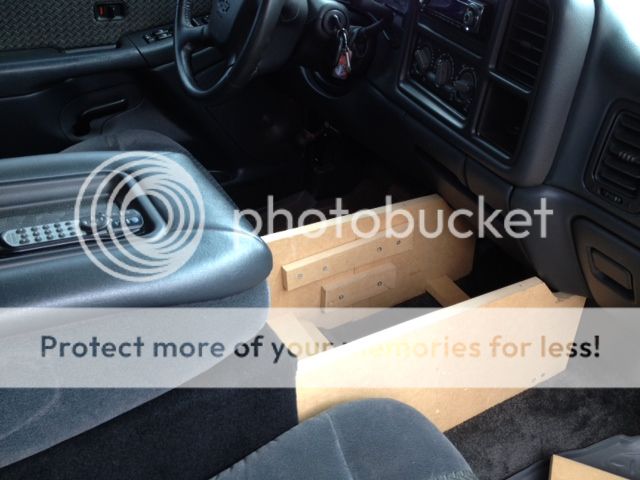
passenger side seat out
noseats.jpg

Seats?  don't need no stinking seats.
injured.jpg

First injury of the build, screwdriver slipped while attempting to remove seat trim.
 
Tagged!
My Dad used to say, "if you aren't bleeding by the end of the day, how do you know you've accomplished anything?"
Looks good so far man  (y)
 
Ah hell, my hands seem to get cut or something every project I do to any vehicle.  Console may not get built for awhile but atleast I know the carpet under the seats is now 100% clean haha.  Plus I'm up $3.21 in loose change that was around the seat mounts.
 
Well, does this count as an update?  Started making a cardboard template.
sides halfway mocked up
passside.jpg


leftover cardboard for a makeshift top.  I also have penciled in where the cupholder insert will go.
Consoletop.jpg
 
thanks guys, hopefully there will be some actual mdf cutting this weekend or next weekend.  Still having trouble deciding on how to actually cover the darn thing once finished.  My dash cap has some spots peeling on it, so I thought about buying some of the SEM interior paint and painting it and the box while I'm at it.  Other option would be to carpet the sides and then do some black vinyl on the top and use something along the edge to hide the seam where the two meet, or be lazy and just spray some bedliner on it.  I dunno guess I need to worry about actually getting the box built first haha.
 
A little more progress over the weekend.  Got the overall box cut and temp. screwed together for a test fit.  Doing two pieces, which I'm still working on the piece that will actually connect into the dash.  But the actual box is a 1 cu ft box w/ a 2" port that comes out the bottom in the back.  I put in a false top above the actual box on a slight angle to accomodate the angle of the factory console/armrest that's going on top.  The bottom board is longer so I can slide the two pieces together and screw them together through the opening where the cupholder will slide in.  Didn't take many pics; not much to look at really
Basic box from front; if you look in the opening you can see the actual box and how it has a false top that angles up.
box.jpg


Here is test fit of box
testfit.jpg
 
Well, more progress.  Box is assembled and ready for finish material.  I was drinking some beer screwin around with this box saturday trying to get the front part to fit right to tie the console into the dash but I got frustrated and wasn't digging the angles it would have to have to fit into the center dash area so I poop-canned the front part and just went with what you see here.  I just put a 45* angle on the front and cut a hole for the cupholder.  Got a huge sealed compartment underneath the cupholder insert that I'm going to line with some foam or something so I can use it for some additional storage as well.  I'm thinking about covering the top with black vinyl (have some laying around) and stopping it on the sides where the 45* angle is.  then doing the rest of the sides with a charcoal fabric and use a thin black metal strip to hide the seams.  Open to other suggestions on how to finish this thing.

subbox.jpg
 
Couldn't sleep lastnight, so went out to the garage and attempted to get some fabric on this box.  This is what I came up with for now.  I ended up putting just a small section of vinyl over the cupholder area and did the rest of it in charcoal felt that I found at a craft store in town.  I'm looking for some 2" thin metal or aluminum strips to paint black and trim it with to hide my seams.  This will work for now until I find some better material to cover it with.
Finished for now:
carpetedbox.jpg


look at all that space under the cupholder!  Just gotta find some foam or something to put down in there to keep everything from rattling around.
consolecubby.jpg
 
Looks good Sonders, I bet you can put a lot of toys in there.
 
Well, couldn't leave well enough alone.  Been driving around with the box in for a month or so and the more I looked at it the more I didn't like it; just didn't like the empty floorspace in front of it.  Yanked it out last weekend, stripped the fabric off and hacked off the front.  Now I have just the box wrapped in black carpet and am working on a center console piece to tie it into the dash, kinda like I had originally wanted to do haha.  Trying to get by using scrap pieces I have leftover so you will notice in first pic extra bracing.

On to the pics.......
Box back in truck, test fitting side pieces.
consolesides.jpg


Test fitting top panel.  Will be installing the cupholder insert in this as well; also looking for some type of factory insert compartment to go in front of it to throw keys and crap in.
console.jpg


would like to finish the sides out with the same carpet as the box to tie them together, and vinyl the top cover.  However not sure how I'd make that work right.  any ideas?
 
little update; bought a cupholder tray and insert out of a newer bodystyle tahoe from a member over at GMFS.com and got the console top cut to fit.  I don't like how the edges of the insert piece flare up, so gotta either take a heat gun and heat it up and see if I can bend them down, or route out the inner edge of the console top so the insert will sit flush.

newcupholder.jpg


Also still gotta figure out how I'm gonna finish off the console top.  Anybody have any suggestions for me?  Anybody even watching this thread anymore?
 
looks better, I would finish off the wood with a piece of grey vinyl to match the other arm rest.
 
yeah, that's what I want to do; but having trouble finding any vinyl to match it.  I really want to recover the cloth part of the armrest to black as well; but haven't figured out how to go about doing that without destroying the darn thing.  Think I'm going to eventually get a black dashmat also to kinda tie the black carpet together.
 
Hey Sonder you know they make vinyl interior paint, it works real well.
 
Are you talking about the AEM paint?  If so I've seen it, but don't know what procedure would be for adhering it to the mdf.
 
I used the SEM paint, the console top was shale painted it medium dark pewter it has held on pretty well on the vinyl I doubt if it will work on MDF. I believe it you cover the mdf with vinyl you can paint it to match.

Painted my door panels also, but it will not stick to plastic
 

Attachments

  • newconsole.JPG
    newconsole.JPG
    36.2 KB · Views: 484
SEM paint is what I meant haha.  I guess I could do that, I do have some black vinyl laying around.  Only thing I don't know how to do is how would I go about hiding the vinyl seam on the edge?  I carpeted the sides and wrapped it over the top and then screwed on the top piece.
 
I'm not sure on that either. But I think if you use a spray adhesive and wrap it under the edges that might work vinyl can be stretched.
 
I don't really see how I can tuck the edges under because the top is screwed down, once I apply the vinyl the screws will be covered up. 
 
I understand what you are saying, that's why we call it modding. >:D

Make it work (y)
 
Back
Top