JohnT3
Full Member
2013 Grille Installation Removal Replacement Guide Tutorial
I thought I would share my experience for those looking to replace their grille. The replacement really isn't too complicated in retrospect, but I did a lot of things I didn't need to do. Between my 07-12 Hayne's manual and the directions that came with the grille, neither one helped at all except to be confusing! Even looking on the internet, I couldn't find anything.
For starters: This is how I did it, my replacement did involve a fair amount of bending of grille area, I didn't notice any problems from this but do so at your own risk!
If you are familiar with removing the bumper cover, that's probably what you should do to do it properly. This is the quick and easy way.
--------------------------------
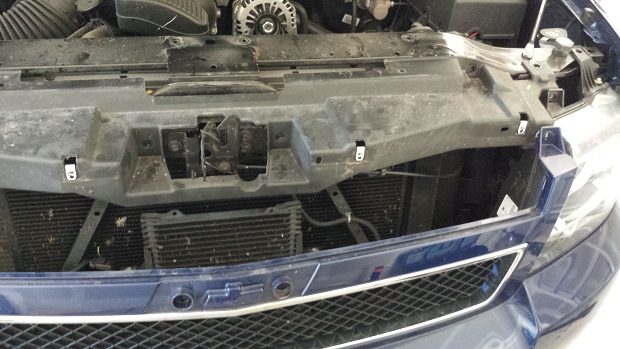
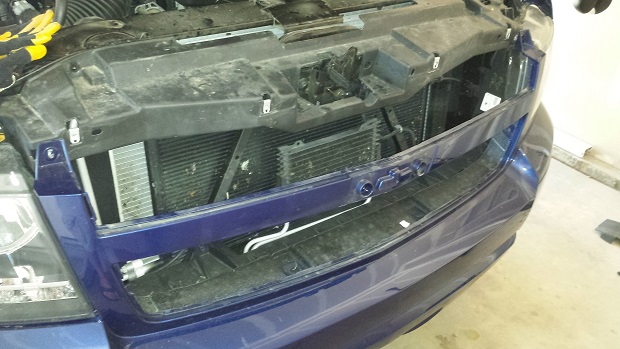
First thing to do is remove these 6 bolts marked with red arrows, they're 10mm. In my pictures, I removed a lot more but I wasn't sure what parts I could take off to get them out of the way.
(The part with the blue line over it is what I wanted to remove but there were 2 bolts holding it on behind the headlights I couldn't access. Maybe more too? I'm not sure.)

Next step is to remove the nuts securing the bowtie. There are 2 of them and they are also 10mm, a deep socket would be ideal to start them off but if you're handy, you can get them off anyway.
After that you can work on removing the grille, I squeezed my hand and arm between the upper section and the radiator cover and the grille flexed enough forward where I could push in the tabs on the upper section of the grille to remove it. There was one huge thing that held up installation by quite a bit, there was one clip on each end side of the upper grille that were a major PITA to remove. Pictured Below.

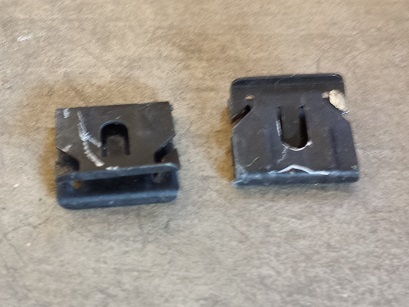
Once I got those off, I could push in all the tabs and get the upper grille off pretty easily.

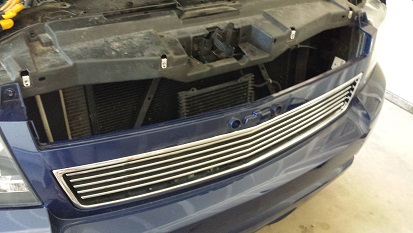
Pic with top section removed:
Lower section was easier, mainly because there were no clips to remove and now there's room for hands.
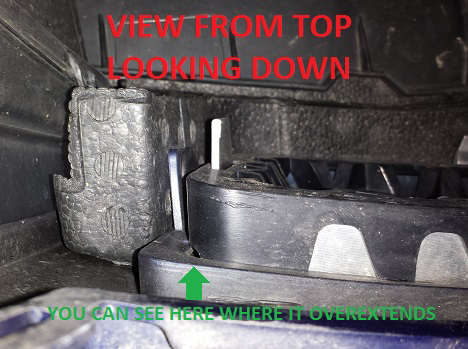
If you look closely, both sides of the grille behind the fascia extend beyond the opening, so therefor I had to remove it by starting with the tabs in the middle. Also, for the tabs on the bottom side of the lower part of the grille, I couldn't really fit my fingers underneath with enough leverage to pop them. So I felt where they were with my finger and then used a covered screwdriver tip to push them up.
Installing the new grille is literally a snap! Just the reverse of removal. I didn't put the end clips back on the upper section of the grille either. For me, those things were a nightmare getting off! And personally, I feel they are overkill.
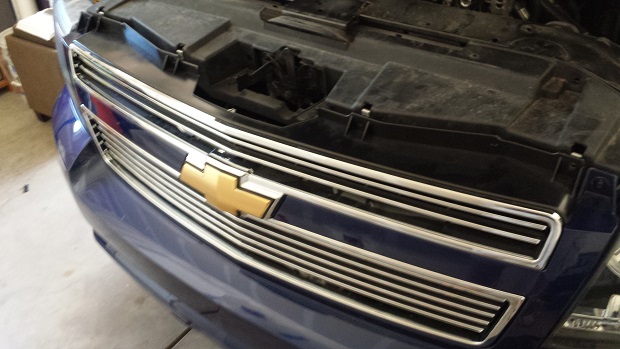
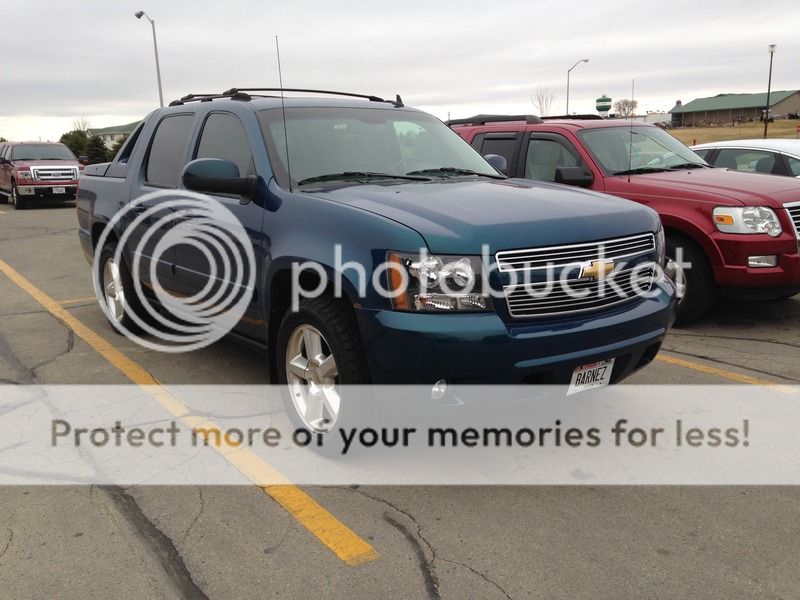
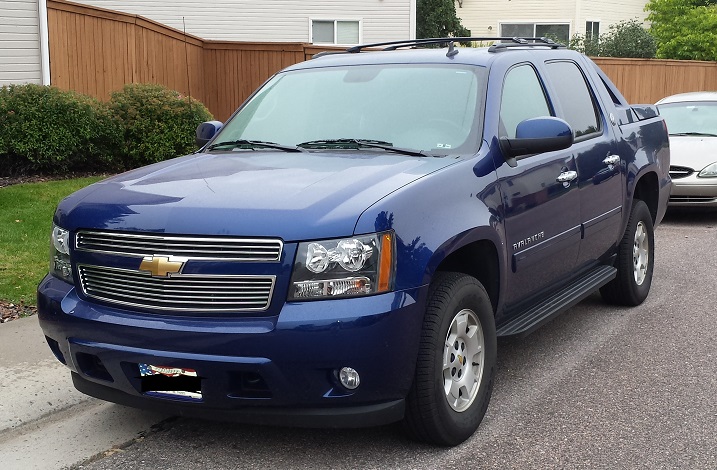
BEFORE:
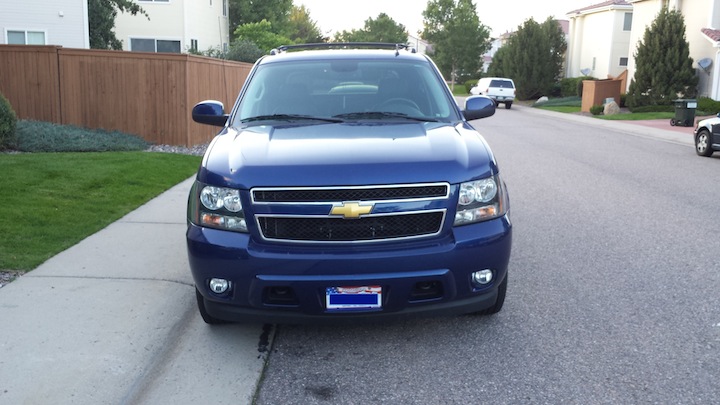
AFTER:
I thought I would share my experience for those looking to replace their grille. The replacement really isn't too complicated in retrospect, but I did a lot of things I didn't need to do. Between my 07-12 Hayne's manual and the directions that came with the grille, neither one helped at all except to be confusing! Even looking on the internet, I couldn't find anything.
For starters: This is how I did it, my replacement did involve a fair amount of bending of grille area, I didn't notice any problems from this but do so at your own risk!
If you are familiar with removing the bumper cover, that's probably what you should do to do it properly. This is the quick and easy way.
--------------------------------
First thing to do is remove these 6 bolts marked with red arrows, they're 10mm. In my pictures, I removed a lot more but I wasn't sure what parts I could take off to get them out of the way.
(The part with the blue line over it is what I wanted to remove but there were 2 bolts holding it on behind the headlights I couldn't access. Maybe more too? I'm not sure.)
Next step is to remove the nuts securing the bowtie. There are 2 of them and they are also 10mm, a deep socket would be ideal to start them off but if you're handy, you can get them off anyway.
After that you can work on removing the grille, I squeezed my hand and arm between the upper section and the radiator cover and the grille flexed enough forward where I could push in the tabs on the upper section of the grille to remove it. There was one huge thing that held up installation by quite a bit, there was one clip on each end side of the upper grille that were a major PITA to remove. Pictured Below.
Once I got those off, I could push in all the tabs and get the upper grille off pretty easily.
Pic with top section removed:
Lower section was easier, mainly because there were no clips to remove and now there's room for hands.
If you look closely, both sides of the grille behind the fascia extend beyond the opening, so therefor I had to remove it by starting with the tabs in the middle. Also, for the tabs on the bottom side of the lower part of the grille, I couldn't really fit my fingers underneath with enough leverage to pop them. So I felt where they were with my finger and then used a covered screwdriver tip to push them up.
Installing the new grille is literally a snap! Just the reverse of removal. I didn't put the end clips back on the upper section of the grille either. For me, those things were a nightmare getting off!
And personally, I feel they are overkill.
BEFORE:
AFTER:
")
 i have been trying to figure out if i could put lights there.you know like http://www.rigidindustries.com/ lucky i found you first instead you saved me(everyone)$$$,backaches,scratched knuckles,etc