• If you currently own, previously owned or want to own an Avalanche, we welcome you to become a member today. Membership is FREE, register now!

Cladding my journey

Blackcomb

Full Member
Joined
Apr 12, 2013
Messages
656
Location
Chicago IL
I have been searching for an extra set of cladding so I could smooth and paint. I had been kicking the idea of color matching my Sonoma Jewel thinking it would look good.
Periodic searches on eBay and Craig's List yeilded either over priced or non existent cladding. I thought I would be purchasing a set for way to much money from a third party I found on the Internet.
Then I found a great deal on Craig's List, contacted the seller and picked up the pieces. and this begins the journey.
 
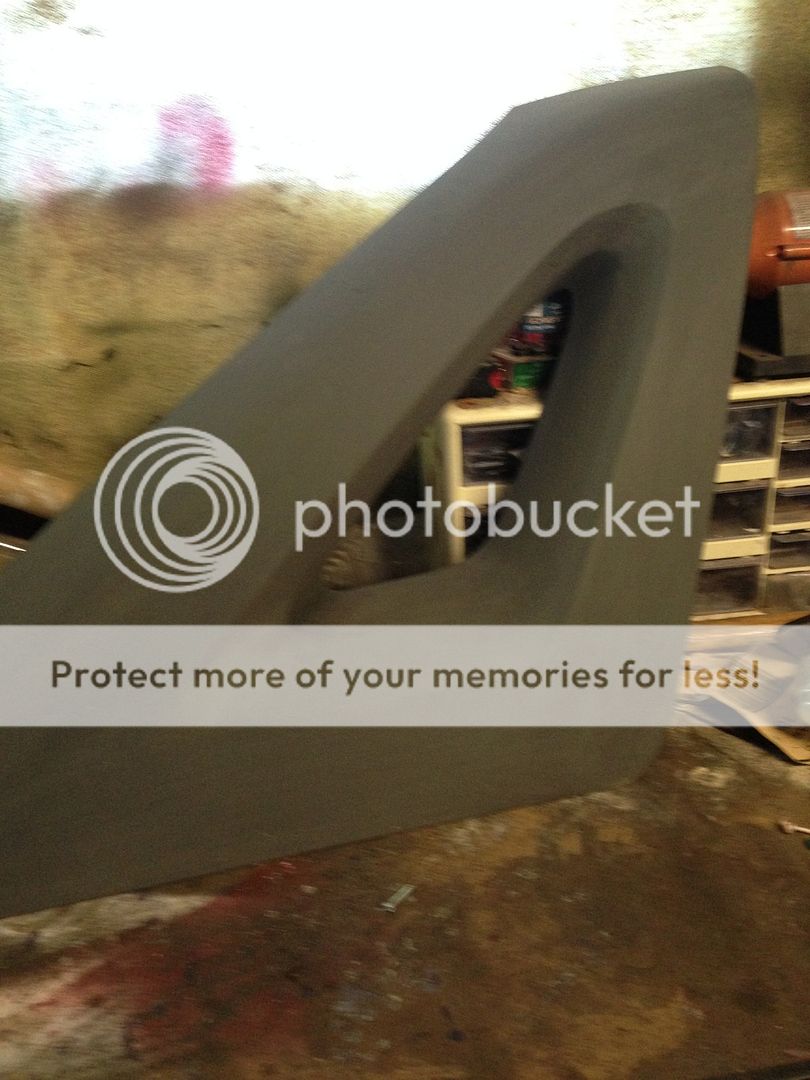
Day one, spent 5 hours with 150 grit paper and my DA. Smoothed out the 4 triangle sail panels and the brake light panel.
 
Day two, I followed the following process on the tail light panel and one of the outer sail panels.
Scuff with maroon scuff pad
Clean with prep cleaner
Apply light coating of adhesion promoter
Prime with a plastic primer
Let dry 1 hour and wet sand with 800 grit
Tack rag and prime with a high build primer
Let dry 1 hour and wet sand with 800 grit
Tack rag and paint with HVLP gun
Let dry over night and wet sand with 1000 grit
Tack rag and apply 3 coats gloss clear with HVLP gun

 
That is exactly how to do it, my paint has been on since 2008 not a sign of peeling. (y) It's all in the prep.
 
I don't know? ???

I can't decide between the wonderful Monet of the striking Cherry. Decisions, decisions!!  :B:

I'm sorry, but my old tired eyes fixed on the Monet pattern before it registered the outline of the sail panel. All is good though as your finished version turned out in a spectacular manner. Great Job!  (y)

Truth be known, I'm particularly fond of H. Matisse. Cladding, natural or smooth is all good!  :D
 
Day three, I didn't have much time today, but managed to prime and paint the last outer sail and one of the inner panels.
 
Day four... Had a little set back with the final outer sail, it had some scratches showing after wet sanding the paint. I ended up sanding out the flaws and re-painting it, second time needed a little more TLC, all the flaws are now gone. I also got the last inner sail under prime today and cleared the one I painted yesterday.
 
Day five, finished the clear coats on the last sail (about time) and last inner sail. Sanded the two vents today as well as ordered the plastic clips for the inside of the panels.
 
Day six. I got a lot accomplished today, our country's BDay. I wet sanded with 1500 and buffed/ polished the oldest sail and brake light panel. They turned out great, not completely flaw free but I can work it more when I get it mounted on the truck. I also sanded and primed one of the cargo storage covers and got a coat of paint on the vent covers.
 
Where are the pictures. >:D

Take it from a person that painted the bed cover you have to handle them gently  or that will get scratched
 
I'm going to leave the bed covers factory, just because of the durability. I do take them off all the time.
I was going to post up some pics when I go to assemble everything, but can take a few of up to date ones.
 
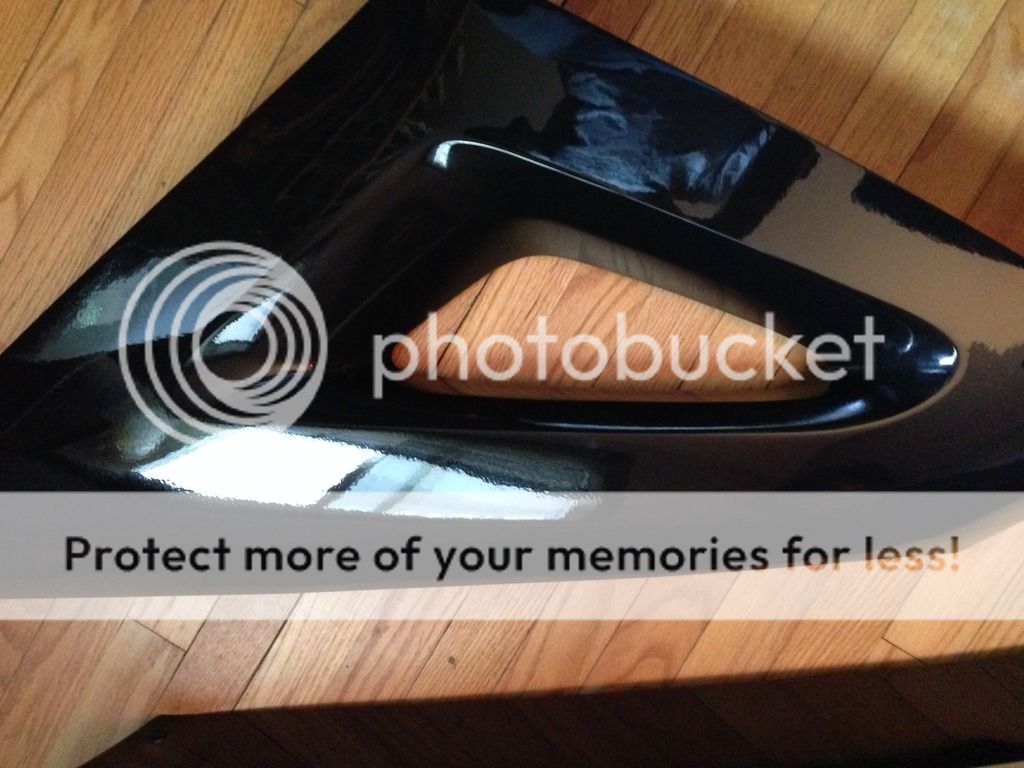
Since MS03 called me out on photos.
Finished brake light panel.


Finished sail panel (outer)

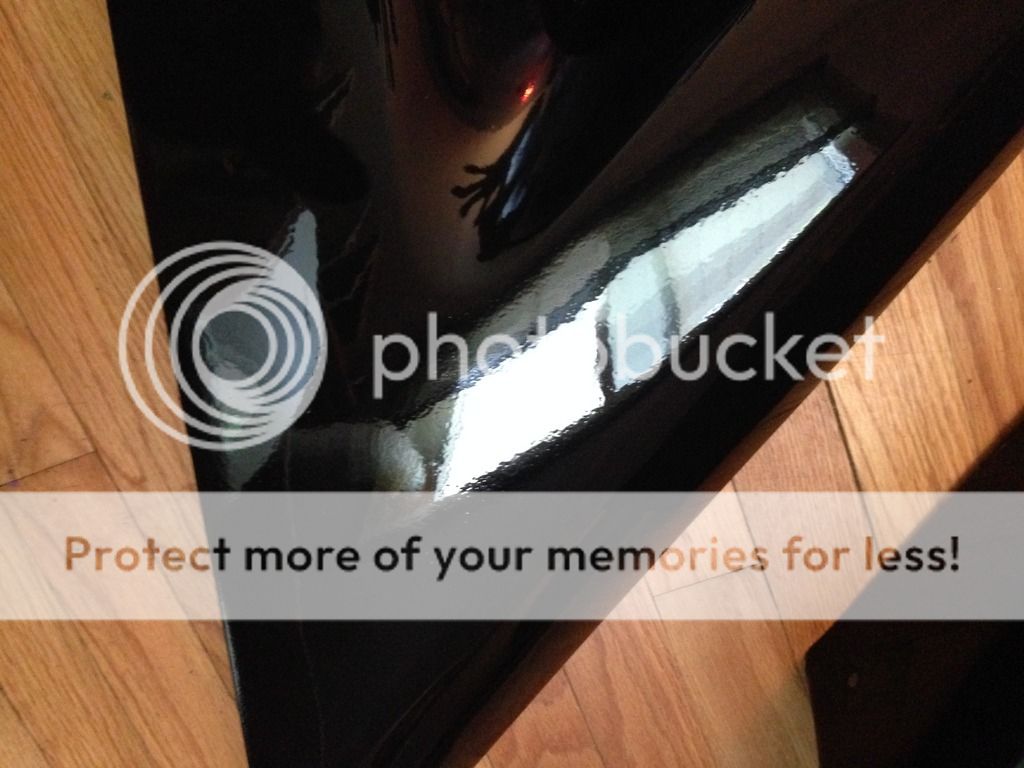
Here you can see a little orange peel left to wet sand out. I think that will work better on the truck where it is a little more ridged.

Storage box cover, single coat primer you can see the roughness, this will sand right out with 600 and prep the cover for a coat of high build primer. Also vent covers with final coat of paint waiting to be wet sanded.

And since I was strong armed into pics I decided to sand out and lay down the high build.

 
If you notice I use two different color primers, the base is a harder primer that bonds real good to the plastic, the high build is darker, the reason is so I can see where I am when I am sanding. High build is soft so I try not to use a lot of it.
 
Looks like you are coming along great.
 
Thanks, kinda want this thread to seem real, someone who is literally working out of their garage, with all the regular crazy life stuff happening. At the end I'll post how many actual work hours I had in the job.
 
I did mine in the garage also, but in the middle on winter. If I remember right it took about 10 days to do minus the bed covers which I did separately, I averaged at 3-4 hours per day.
 
Awesome job!

I can't wait to see the finished project.

(y)
 
Day seven,
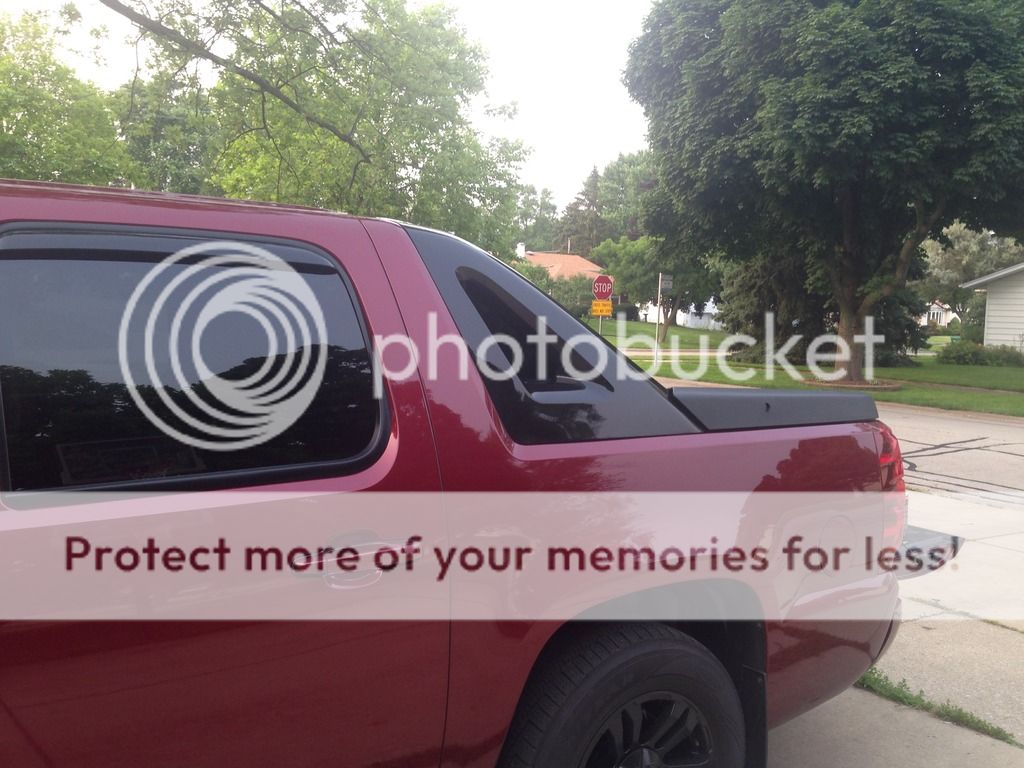
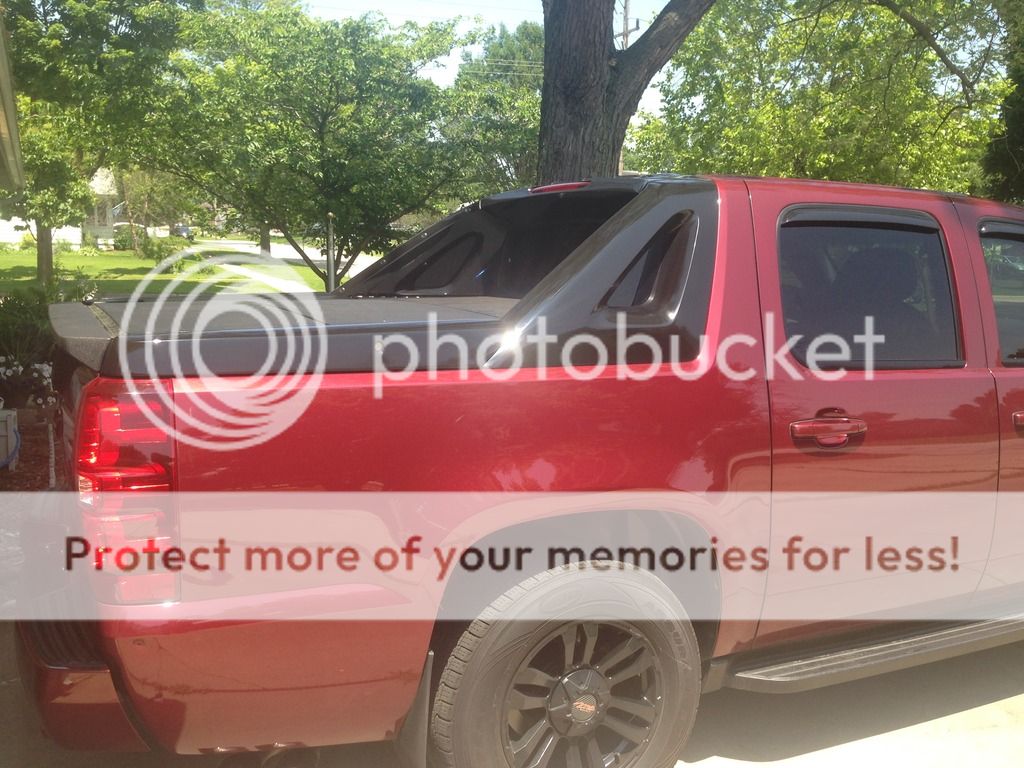
Got the first storage box cover cleared, primed the second one. I also finished wet sanding and buffing the other panels, and since I was rolling at a good pace today installed them.


Awesome, nice job. (y)
 
That looks nice.  (y) Are you experienced with painting? I would like to do this also, but have never done any painting. Would you recommend a novice like myself to try it?
 
You planning on doing any clear vinyl to protect the paint job? I am considering doing mine but if I do I want to cover them so they don't get all scratched up if I have the truck "working".

Rodney
 
redheadedrod said:
You planning on doing any clear vinyl to protect the paint job? I am considering doing mine but if I do I want to cover them so they don't get all scratched up if I have the truck "working".

Rodney
I'll be putting the 3M vinyl on the tailgate piece, I hail a trailer when I'm working and never load the roof so the paint up there should be ok.
 
Day eight, finished the storage box covers and installed them, also sanded the tail gate piece.
Now that I am just about finished and see it all together I really like my choice of color. I will be redoing the sails I took off to make re finish more refined as u figured out I needed to reduce the paint more than I had.

 
Back
Top