Still can't believe it...

Replaced the sending the unit and the low oil pressure warning is not coming up anymore! Did a nice hour trip yesterday and compression is holding steady at 40-45. Guess I'm just lucky one..

www.dropbox.com
And now I can safely continue to work on the truck. Thanks all for support and great tips!
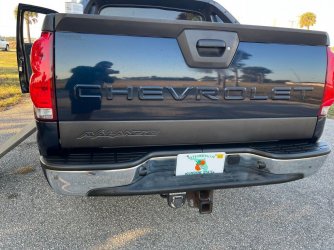
My next step will be sails and all the plastic trim around the car, its all faded and ugly. Anyone has experience with a propane torch?

I was advised to try using it by both autozone rep and the friend of mine. And I did try it on the wheel fender - it actually turned black. But in my chevy facebook group people reacted pretty aggressively lol, stating that I ruined the fender etc..
Well.. if it stays for longer than 2weeks (as was with a chemical guys product) I will be more than happy. But Id still like to paint it over with a good matte black spray paint. If anyone can recommend me something good Id be really grateful. Any experience with flaking or peeling after the procedure?