kev2809
Full Member
- Joined
- Oct 28, 2019
- Messages
- 97
I wanted to show a quick write up of adding a luggage rack to your truck if it does not have one. I did follow this write up which was the most detailed I could find..
https://www.chevyavalanchefanclub.com/cafcna/index.php?threads/06-luggage-rack-install.151690/
I couldn't follow exactly since I used a rack from a 2002 yulon xl, which obviously doesn't fit.
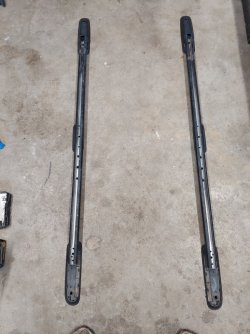
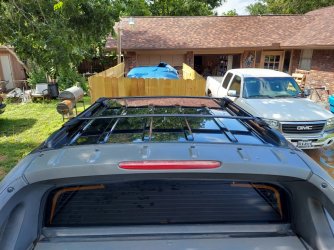
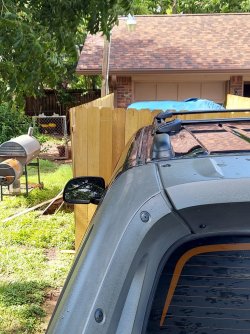
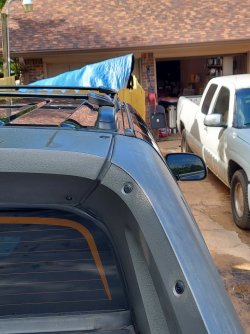
So, first thing I did was lay it on my roof completely assembled, and slid the stock crossbars as close to the front as possible, then lined up the rear mounts where I thought they should go after referencing stock pictures. This is where I measured to see how much needed to come off.
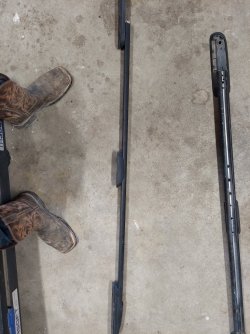
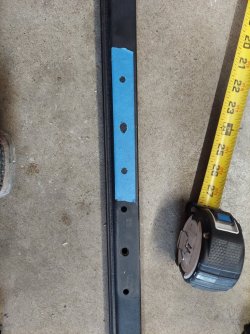
After knowing what needs to come up, cut away!. I didn't snap any pictures of the cut but I want to say I ended up with 42.5" of length from beginning of rail to end of rail (not counting the plastic mounts).
Once they are cut to length, assemble them back together. On mine, only the front mounts stayed original, as they have a square hole for the plastic to snap in and I didn't want to try and replicate that, which is why I decided to cut off the rear of the tracks.
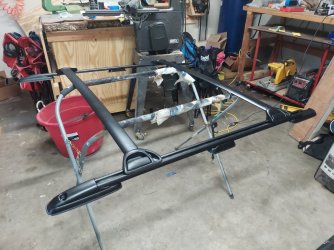
Once these are cut down and reassembled, you now realize the middle mount is not centered, so I opted to move them forward to center them...and here's how I did them.
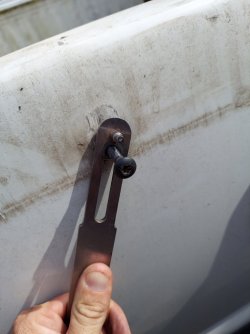
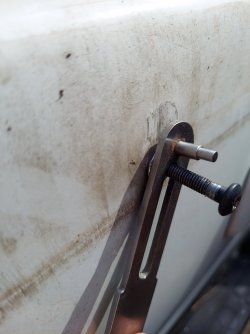
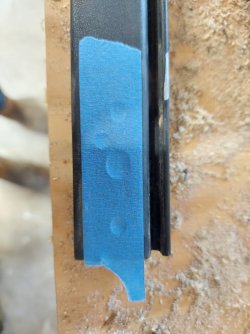
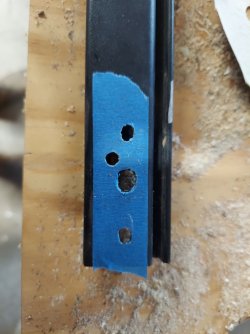
Take off all the mounting pads and measure exactly half of the rail and make a mark. Now, flip the rail over and place painters tape over the stock pad holes and cut out the holes in the tape with an exact knife or blade. After cut out, line up the middle hole of the tape with the mark you made on the rail (the halfway mark).
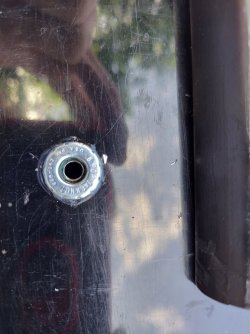
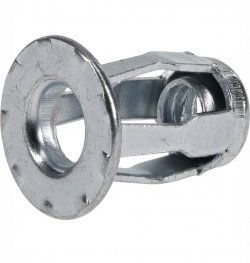
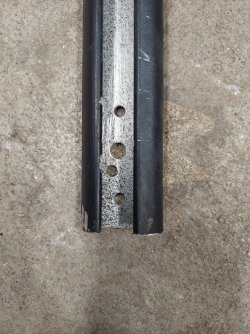
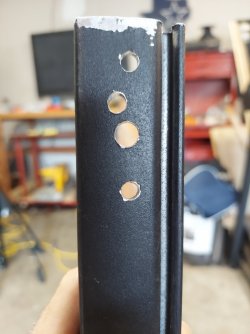
Here is where you re drill the new holes. I used 7/32 bit for the small hole and 5/16 for the larger mounting hole...which both needed just a little reaming. After drilling them, test fit your mount. The clips will not snap all the way in because the rails are double walled...if you notice the old mounting spot you can see the top layer of the hole is bigger than the bottom layer, allowing it to snap in. Once the middle mounts are finished, you can redrill the new holes for the rear mounting pad.
This one is a little tricky. You have to make sure the hole orientation is the same as the stock pad and not flipped, or they will not line up, so pay attention that your using the LH or RH pad with the left or right side. Use the same tape method above for these holes...bits are the same size as well.
https://www.chevyavalanchefanclub.com/cafcna/index.php?threads/06-luggage-rack-install.151690/
I couldn't follow exactly since I used a rack from a 2002 yulon xl, which obviously doesn't fit.
So, first thing I did was lay it on my roof completely assembled, and slid the stock crossbars as close to the front as possible, then lined up the rear mounts where I thought they should go after referencing stock pictures. This is where I measured to see how much needed to come off.
After knowing what needs to come up, cut away!. I didn't snap any pictures of the cut but I want to say I ended up with 42.5" of length from beginning of rail to end of rail (not counting the plastic mounts).
Once they are cut to length, assemble them back together. On mine, only the front mounts stayed original, as they have a square hole for the plastic to snap in and I didn't want to try and replicate that, which is why I decided to cut off the rear of the tracks.
Once these are cut down and reassembled, you now realize the middle mount is not centered, so I opted to move them forward to center them...and here's how I did them.
Take off all the mounting pads and measure exactly half of the rail and make a mark. Now, flip the rail over and place painters tape over the stock pad holes and cut out the holes in the tape with an exact knife or blade. After cut out, line up the middle hole of the tape with the mark you made on the rail (the halfway mark).
Here is where you re drill the new holes. I used 7/32 bit for the small hole and 5/16 for the larger mounting hole...which both needed just a little reaming. After drilling them, test fit your mount. The clips will not snap all the way in because the rails are double walled...if you notice the old mounting spot you can see the top layer of the hole is bigger than the bottom layer, allowing it to snap in. Once the middle mounts are finished, you can redrill the new holes for the rear mounting pad.
This one is a little tricky. You have to make sure the hole orientation is the same as the stock pad and not flipped, or they will not line up, so pay attention that your using the LH or RH pad with the left or right side. Use the same tape method above for these holes...bits are the same size as well.
Attachments


Last edited: