
blu_fuz
Full Member
This might be the first AV with the Autoride compressor relocated from under the truck by the drivers side rear tire to into the driver side saddle bag.
The original GM location for these compressors is really bad. It's pretty much open to the elements ie; salt, rain, snow, mud, dirt, etc. For how expensive it is to replace one of these compressors, this mod was a must for me after having a problem with a brand new pump only 8 months after installing.
After getting a 2nd pump through Arnott suspension warranty (they told me no warranty on the 2nd pump), I knew I wasn't going to eat the cost of a new pump again from it being under the truck.
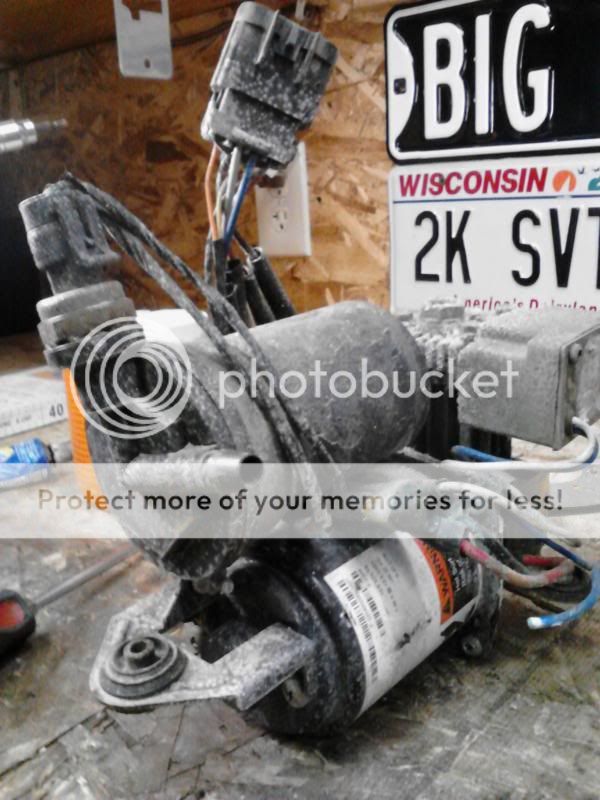
Here is a video of my 1st replacement pump after it started acting up in only 8 months. You can see the rubber flap covered in salt from this winter and the pump didn't look any better and a picture of the pump removed after 8 months:
http://www.youtube.com/watch?v=fEl25ibWiTU
Here is a breakdown of the steps to move your pump. I made a harness that disconnects at the pump for easy removal but you don't need to do that and should save you some time. You will be cutting the factory harness off the pump, which you have to do when you get a replacement unit from Arnott, and making wire extensions to be ran into the saddle bag area. You will also be cutting a small section of autoride air shock tubing so you can splice in a longer section to run into the saddle bag.
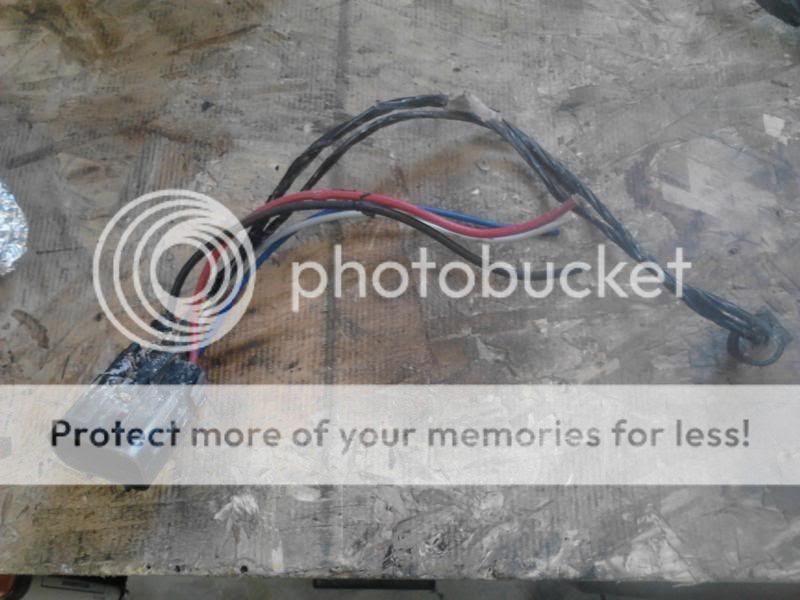
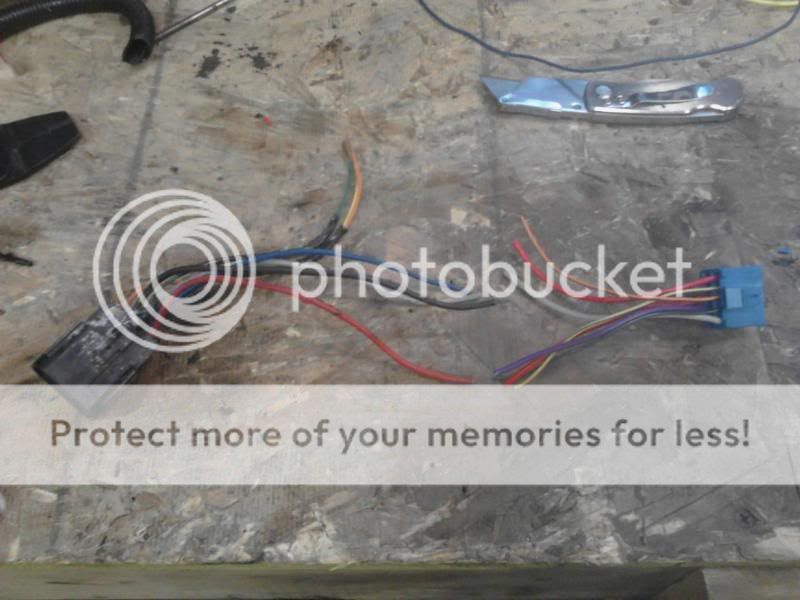
Factory harness cut off OEM compressor:
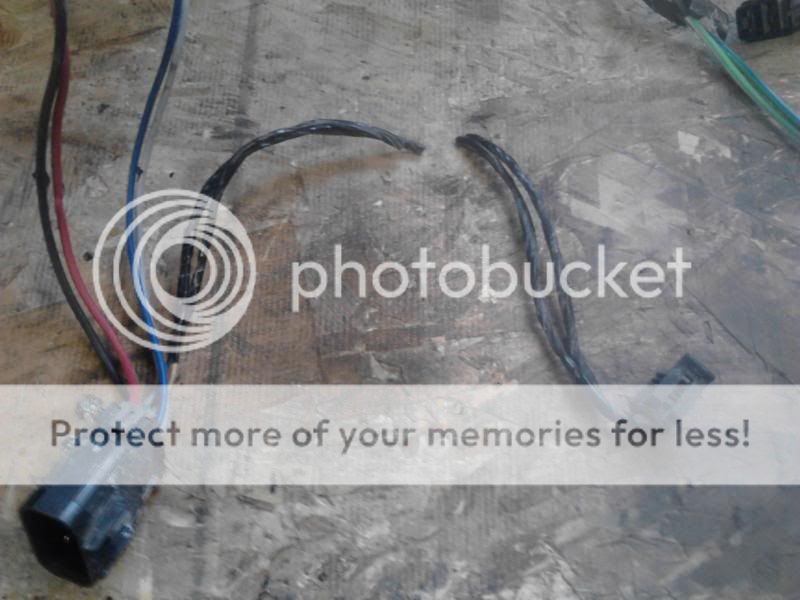
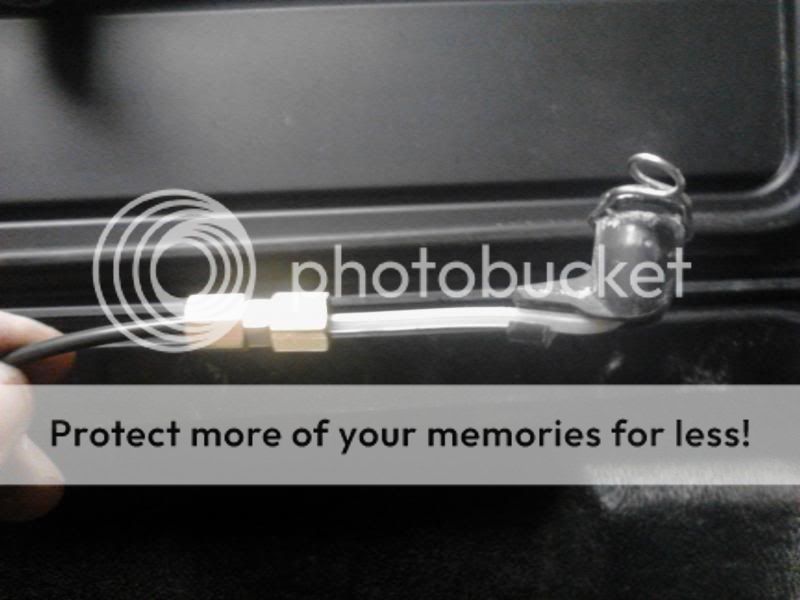
Cut drier canister sensor plug off in the middle:
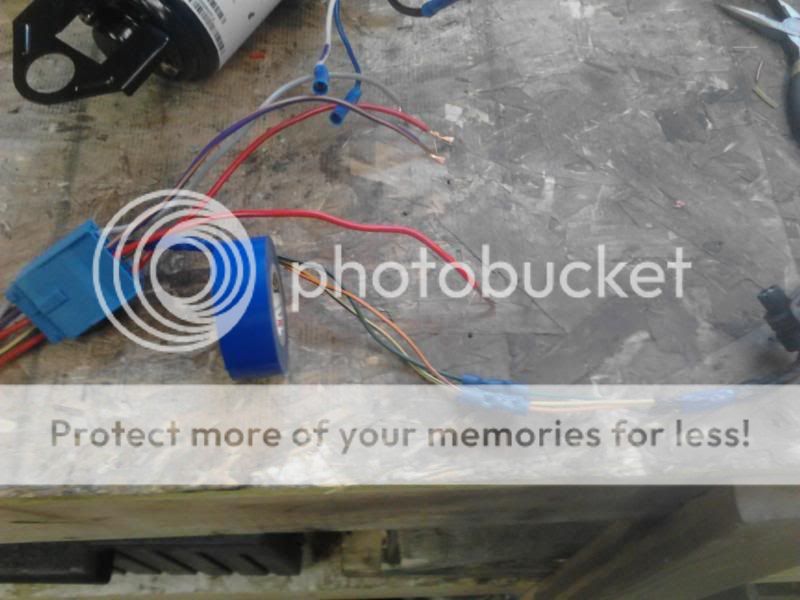
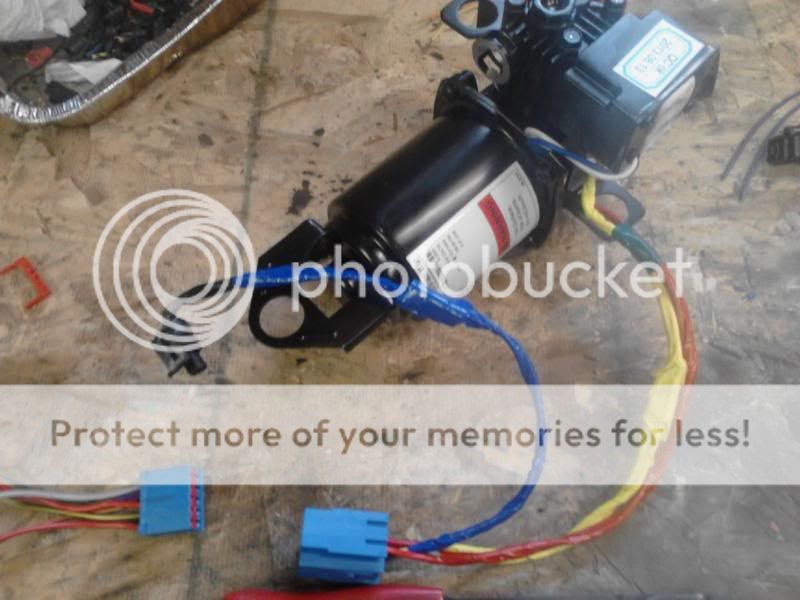
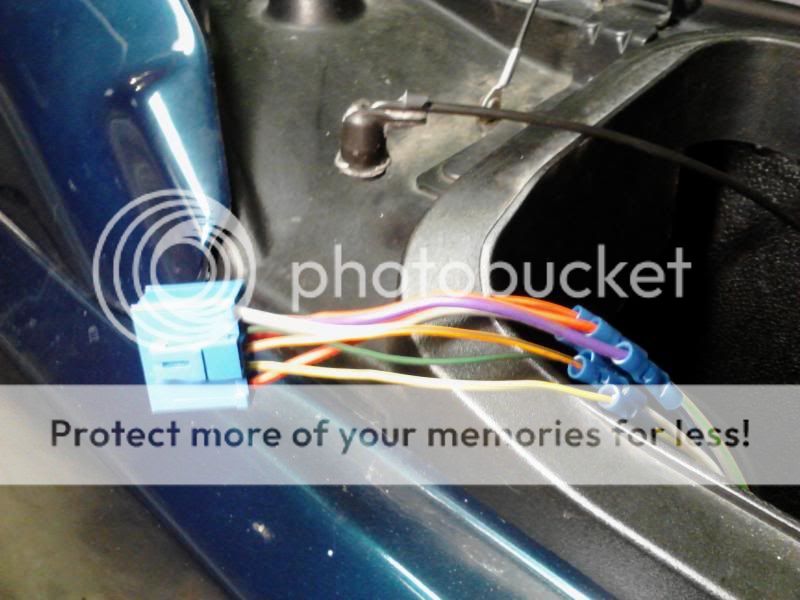
Here I build my own harness quick connect for easy pump removal. I took apart a old ford harness I had laying around and re-pinned it with the correct gauge wires (didn't have exact color matches, but noted on paper what colors match to what):
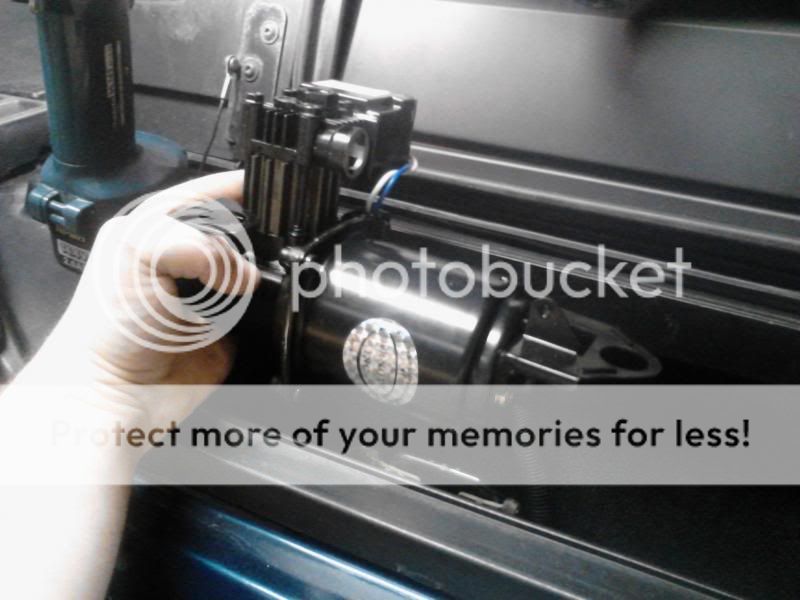
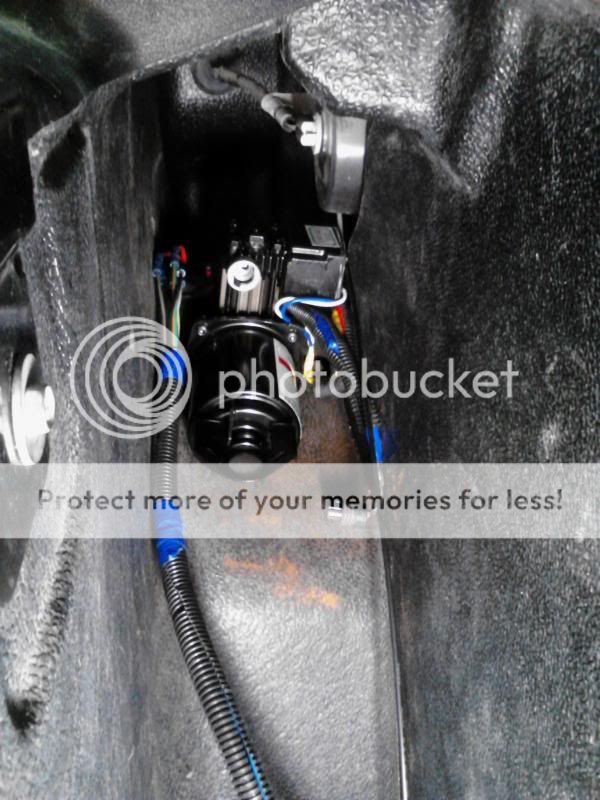
Get compressor into drivers side saddle bag, fits perfect:
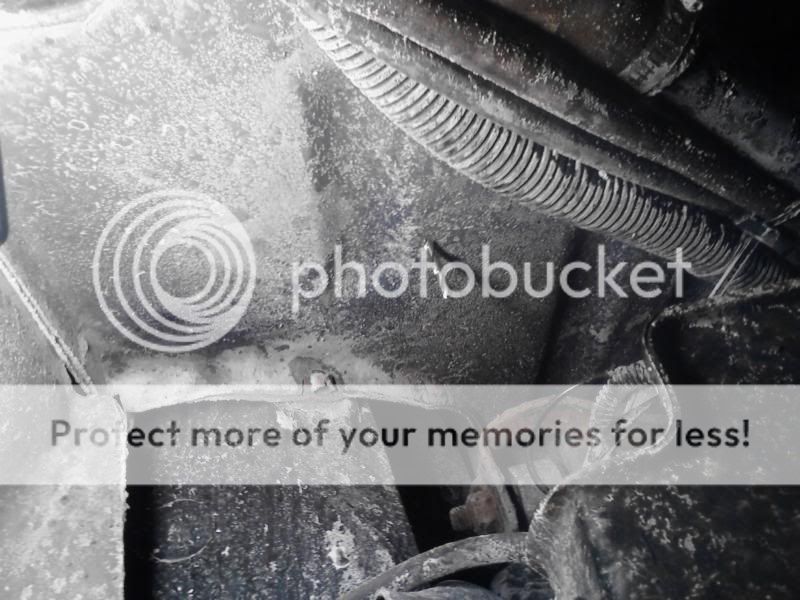
See these 3 holes? Don't use any of them:

Measure about 6" towards the front of the truck from the hole shown for drilling your pilot hole (if you drill into the existing hole where the end of the tape measure is, you will drill into the fuel filler neck):

See pilot hole drill bit poking through:
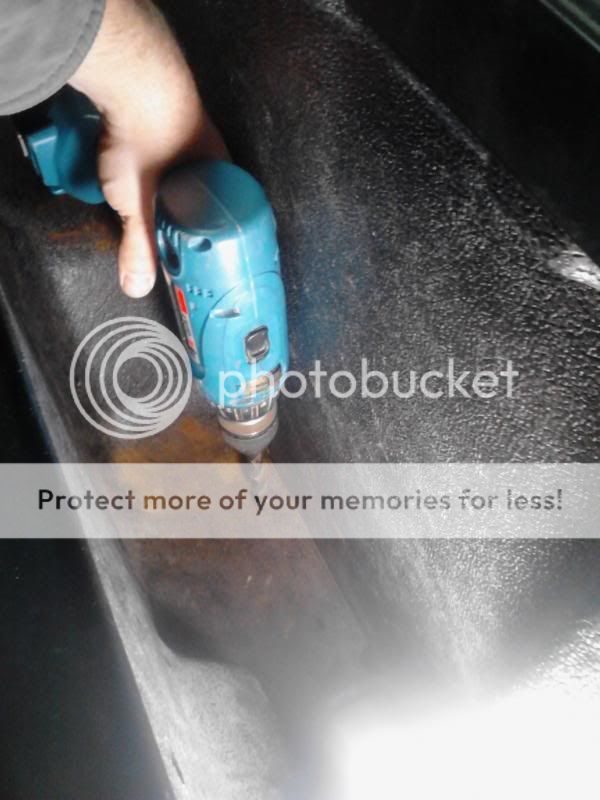
Now drill a 1/2" hole to allow the air line and wire harness extensions to fit through:


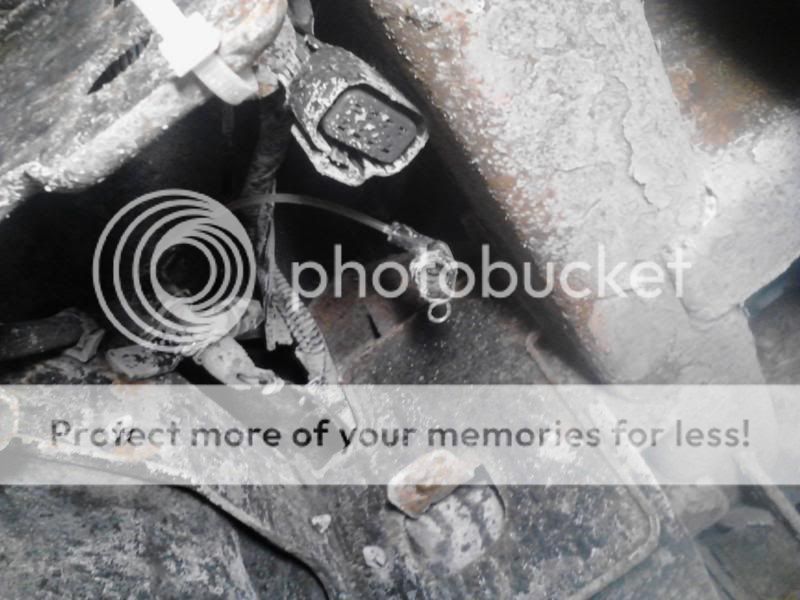
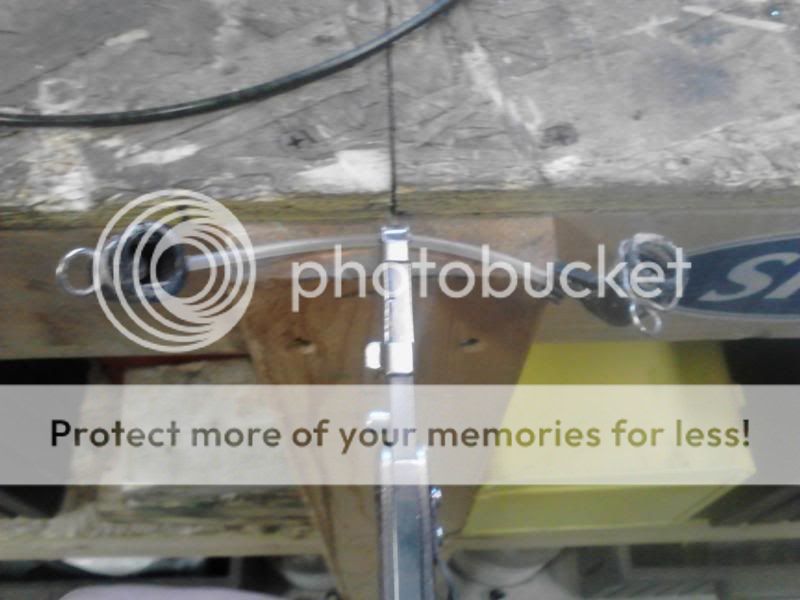
Remove this small air line off the t-fitting shown here:

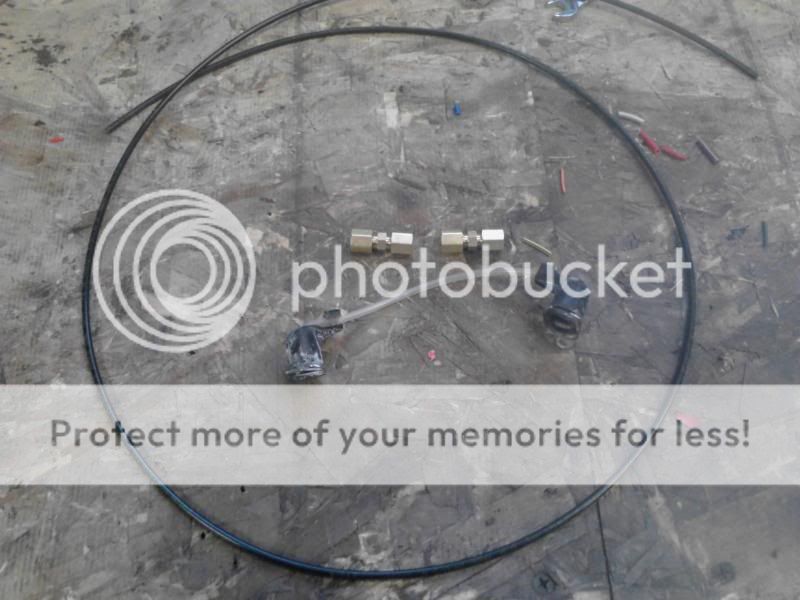
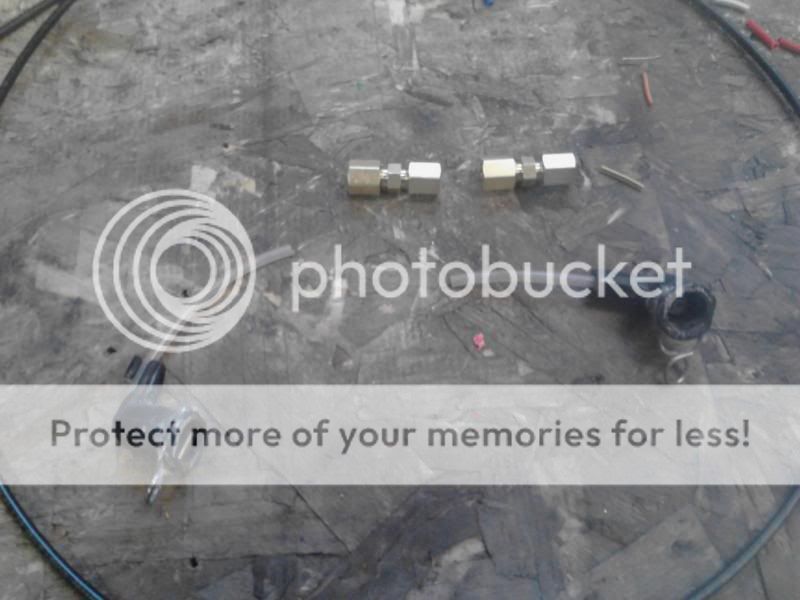
You can buy the correct nylon tubing (approx. 4 feet) and couplers from NAPA for extending the air line for the compressor supply. Cut and attach only one original end to the new hose:

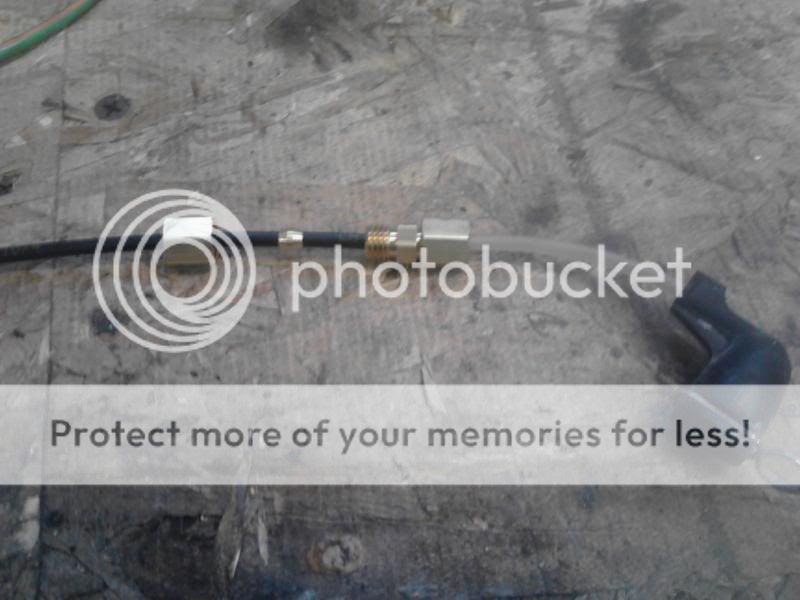
Connect your spliced end to the t-fitting under the truck and feed the other end of the hose through your drilled hole:


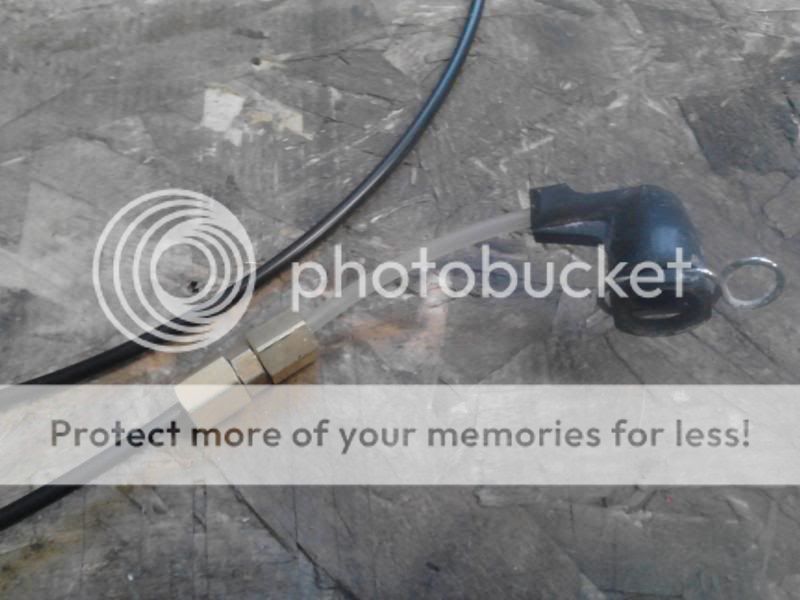
Now connect your other end to the end of the new hose extension inside the saddle bag:
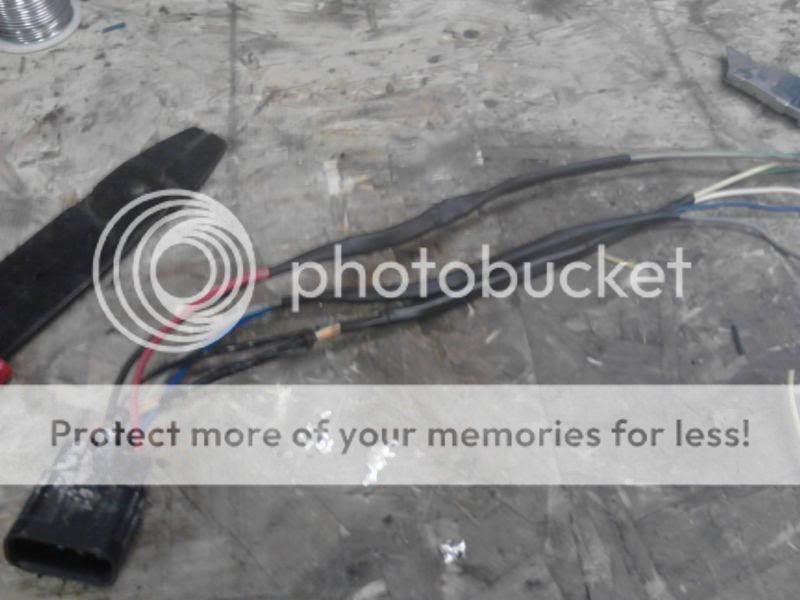
Next, make wire extensions (at least 3 feet of wire, 7 colors, blue-gray-red-black-yellow-green-orange) that will run from the OEM harness under the truck into the saddle bag. I soldered and DOUBLE heat shrunk the connections that are under the truck. I don't want to be doing this ever again so do it right the first time. Again, I was matching the gauge of wires, but didn't have the matching colors so I wrote down what my connection colors were so I could follow them later:


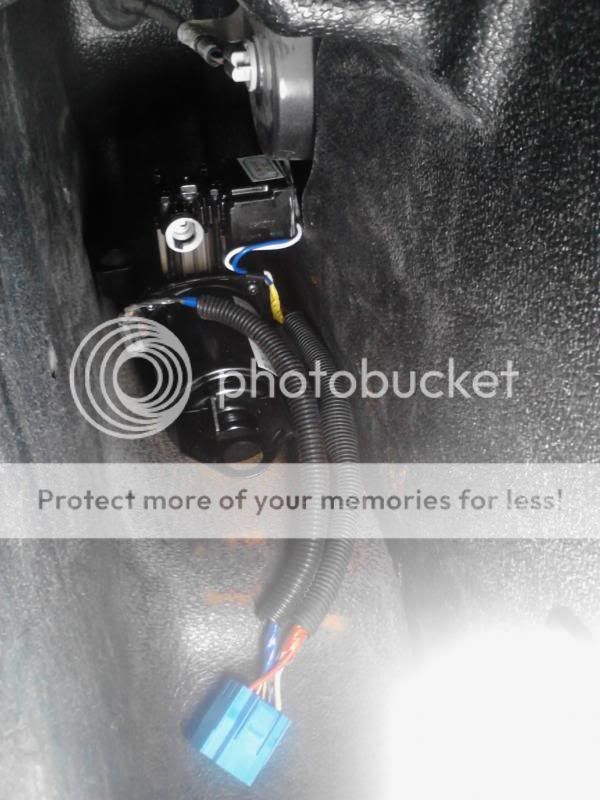
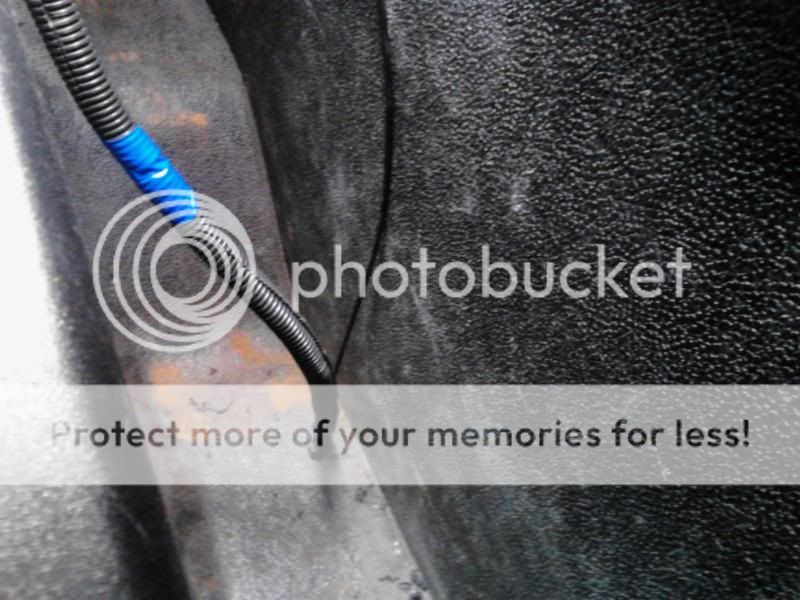
Pull your new harness extensions up from under the truck, through the hole you drilled, and into the saddle bag:

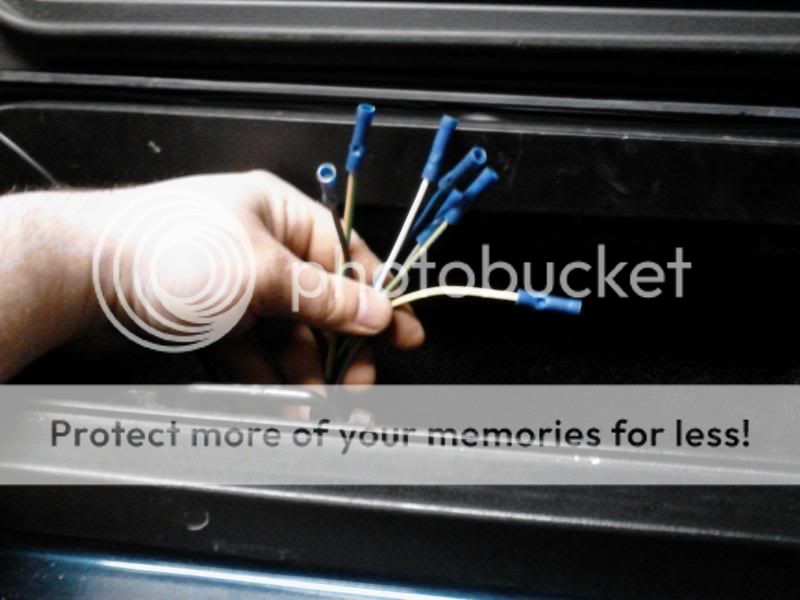
You don't need weather tight wire connections in the saddle bag, so attach your wire extensions to the compressor and you are done, or in my case I attached my wire extensions to the quick connect harness that I put together:
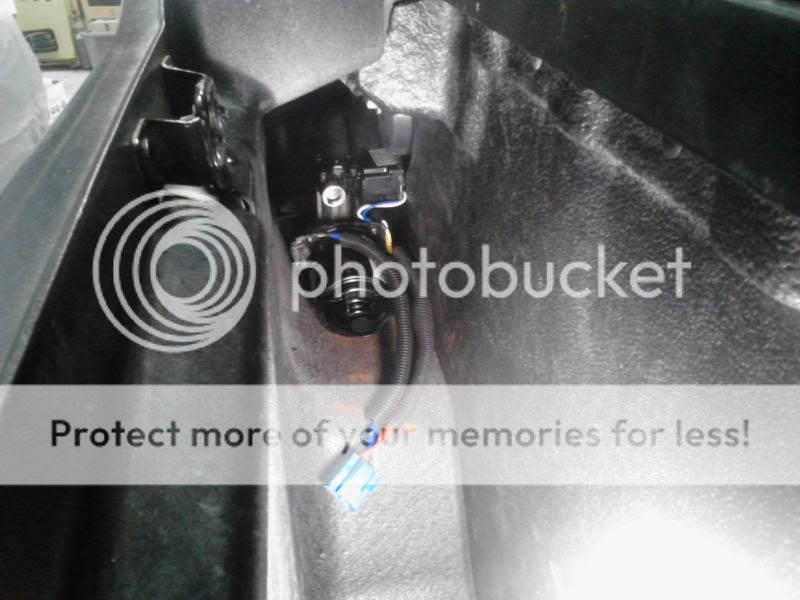
I put a big zip tie at the base of the wires and air line so that the wires can't wiggle down and back under the truck. Put the wire black corrugated wire sleeve on and finished it up. I still need to build a cradle to mount the compressor, get the wire loom secured to the saddle bag side, and put the rubber vibration isolators on the compressor :
The original GM location for these compressors is really bad. It's pretty much open to the elements ie; salt, rain, snow, mud, dirt, etc. For how expensive it is to replace one of these compressors, this mod was a must for me after having a problem with a brand new pump only 8 months after installing.
After getting a 2nd pump through Arnott suspension warranty (they told me no warranty on the 2nd pump), I knew I wasn't going to eat the cost of a new pump again from it being under the truck.
Here is a video of my 1st replacement pump after it started acting up in only 8 months. You can see the rubber flap covered in salt from this winter and the pump didn't look any better and a picture of the pump removed after 8 months:
http://www.youtube.com/watch?v=fEl25ibWiTU
Here is a breakdown of the steps to move your pump. I made a harness that disconnects at the pump for easy removal but you don't need to do that and should save you some time. You will be cutting the factory harness off the pump, which you have to do when you get a replacement unit from Arnott, and making wire extensions to be ran into the saddle bag area. You will also be cutting a small section of autoride air shock tubing so you can splice in a longer section to run into the saddle bag.
Factory harness cut off OEM compressor:
Cut drier canister sensor plug off in the middle:
Here I build my own harness quick connect for easy pump removal. I took apart a old ford harness I had laying around and re-pinned it with the correct gauge wires (didn't have exact color matches, but noted on paper what colors match to what):
Get compressor into drivers side saddle bag, fits perfect:
See these 3 holes? Don't use any of them:
Measure about 6" towards the front of the truck from the hole shown for drilling your pilot hole (if you drill into the existing hole where the end of the tape measure is, you will drill into the fuel filler neck):
See pilot hole drill bit poking through:
Now drill a 1/2" hole to allow the air line and wire harness extensions to fit through:
Remove this small air line off the t-fitting shown here:
You can buy the correct nylon tubing (approx. 4 feet) and couplers from NAPA for extending the air line for the compressor supply. Cut and attach only one original end to the new hose:
Connect your spliced end to the t-fitting under the truck and feed the other end of the hose through your drilled hole:
Now connect your other end to the end of the new hose extension inside the saddle bag:
Next, make wire extensions (at least 3 feet of wire, 7 colors, blue-gray-red-black-yellow-green-orange) that will run from the OEM harness under the truck into the saddle bag. I soldered and DOUBLE heat shrunk the connections that are under the truck. I don't want to be doing this ever again so do it right the first time. Again, I was matching the gauge of wires, but didn't have the matching colors so I wrote down what my connection colors were so I could follow them later:
Pull your new harness extensions up from under the truck, through the hole you drilled, and into the saddle bag:
You don't need weather tight wire connections in the saddle bag, so attach your wire extensions to the compressor and you are done, or in my case I attached my wire extensions to the quick connect harness that I put together:
I put a big zip tie at the base of the wires and air line so that the wires can't wiggle down and back under the truck. Put the wire black corrugated wire sleeve on and finished it up. I still need to build a cradle to mount the compressor, get the wire loom secured to the saddle bag side, and put the rubber vibration isolators on the compressor :
")

 woops!
 I added a couple notes about lengths of wire and hose, and amount of wires and colors.
