Very interesting.
Thank you for updating this post with your observations.
I apologize if you bought a non-functional tap because of the link I posted.
I do not have an explanation as to why the fuse taps in the link I provided have the added plastic tab that prevents proper insertion into the fuse box panel.
To make sure of what was installed in my trucks, I ran out and had a look at both of them.
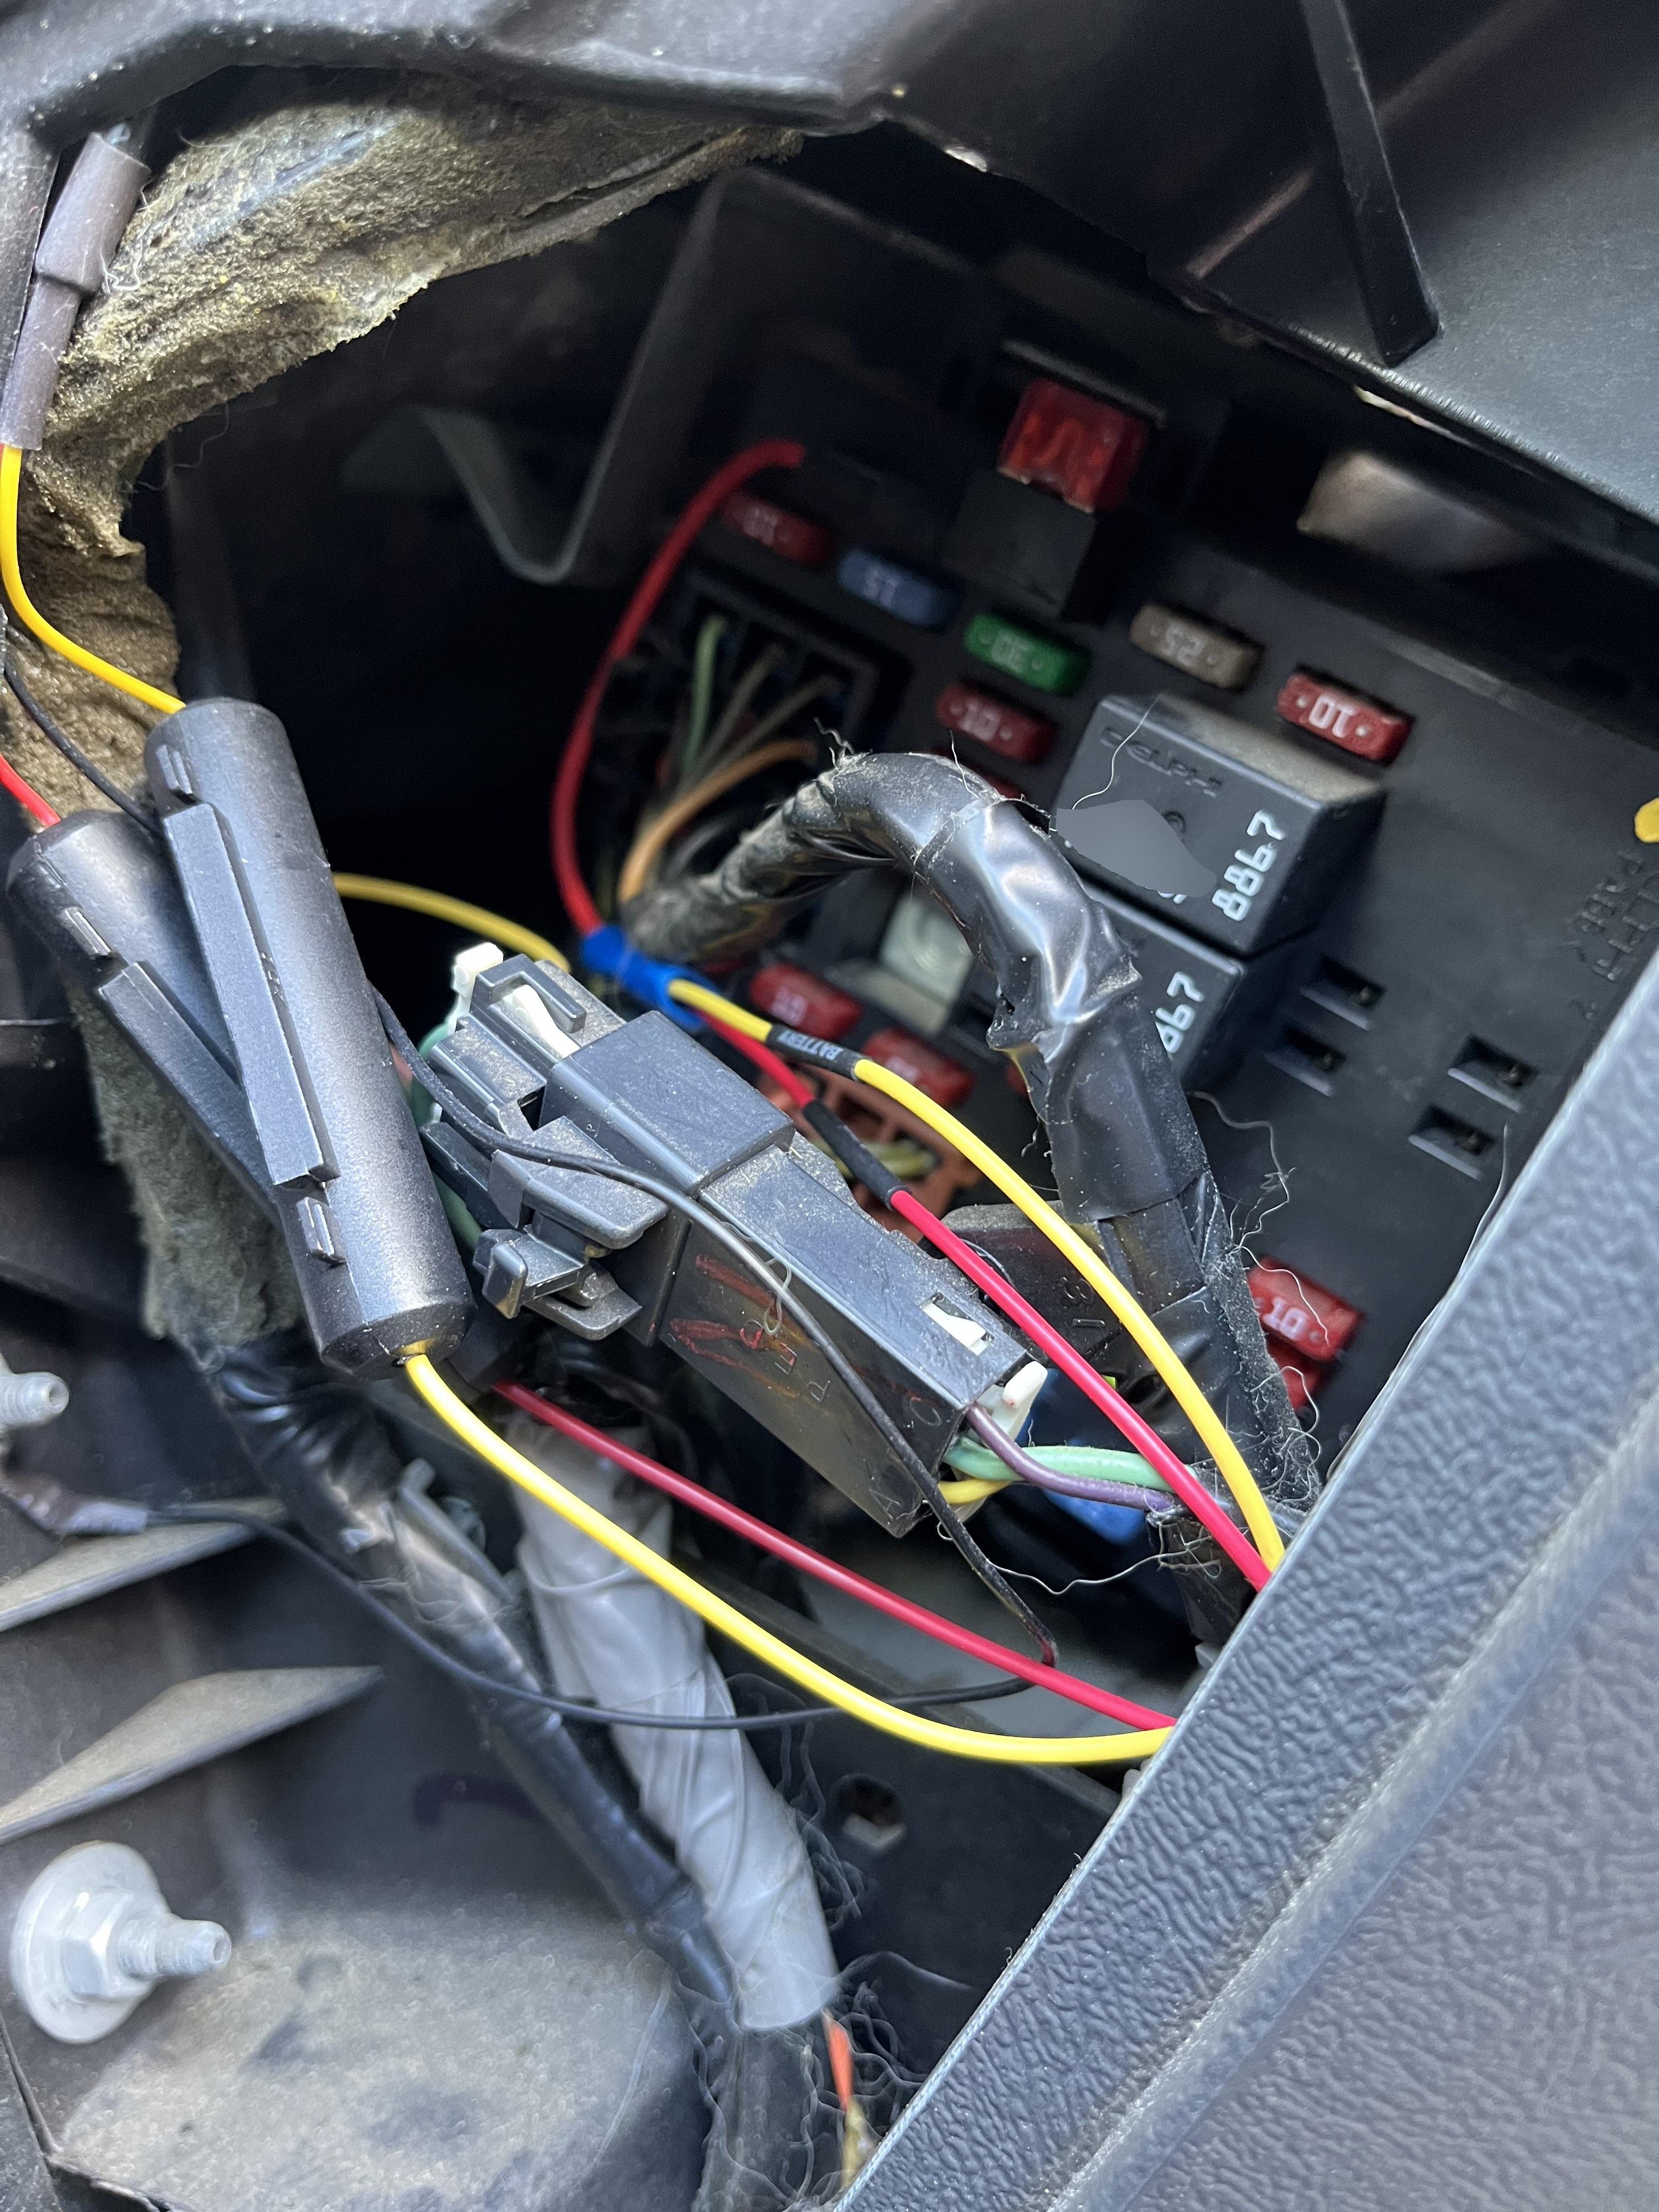
Here is a picture of the one I just pulled out of my Avalanche and both of them are the same with no added plastic tab to cause problems.
View attachment 237320
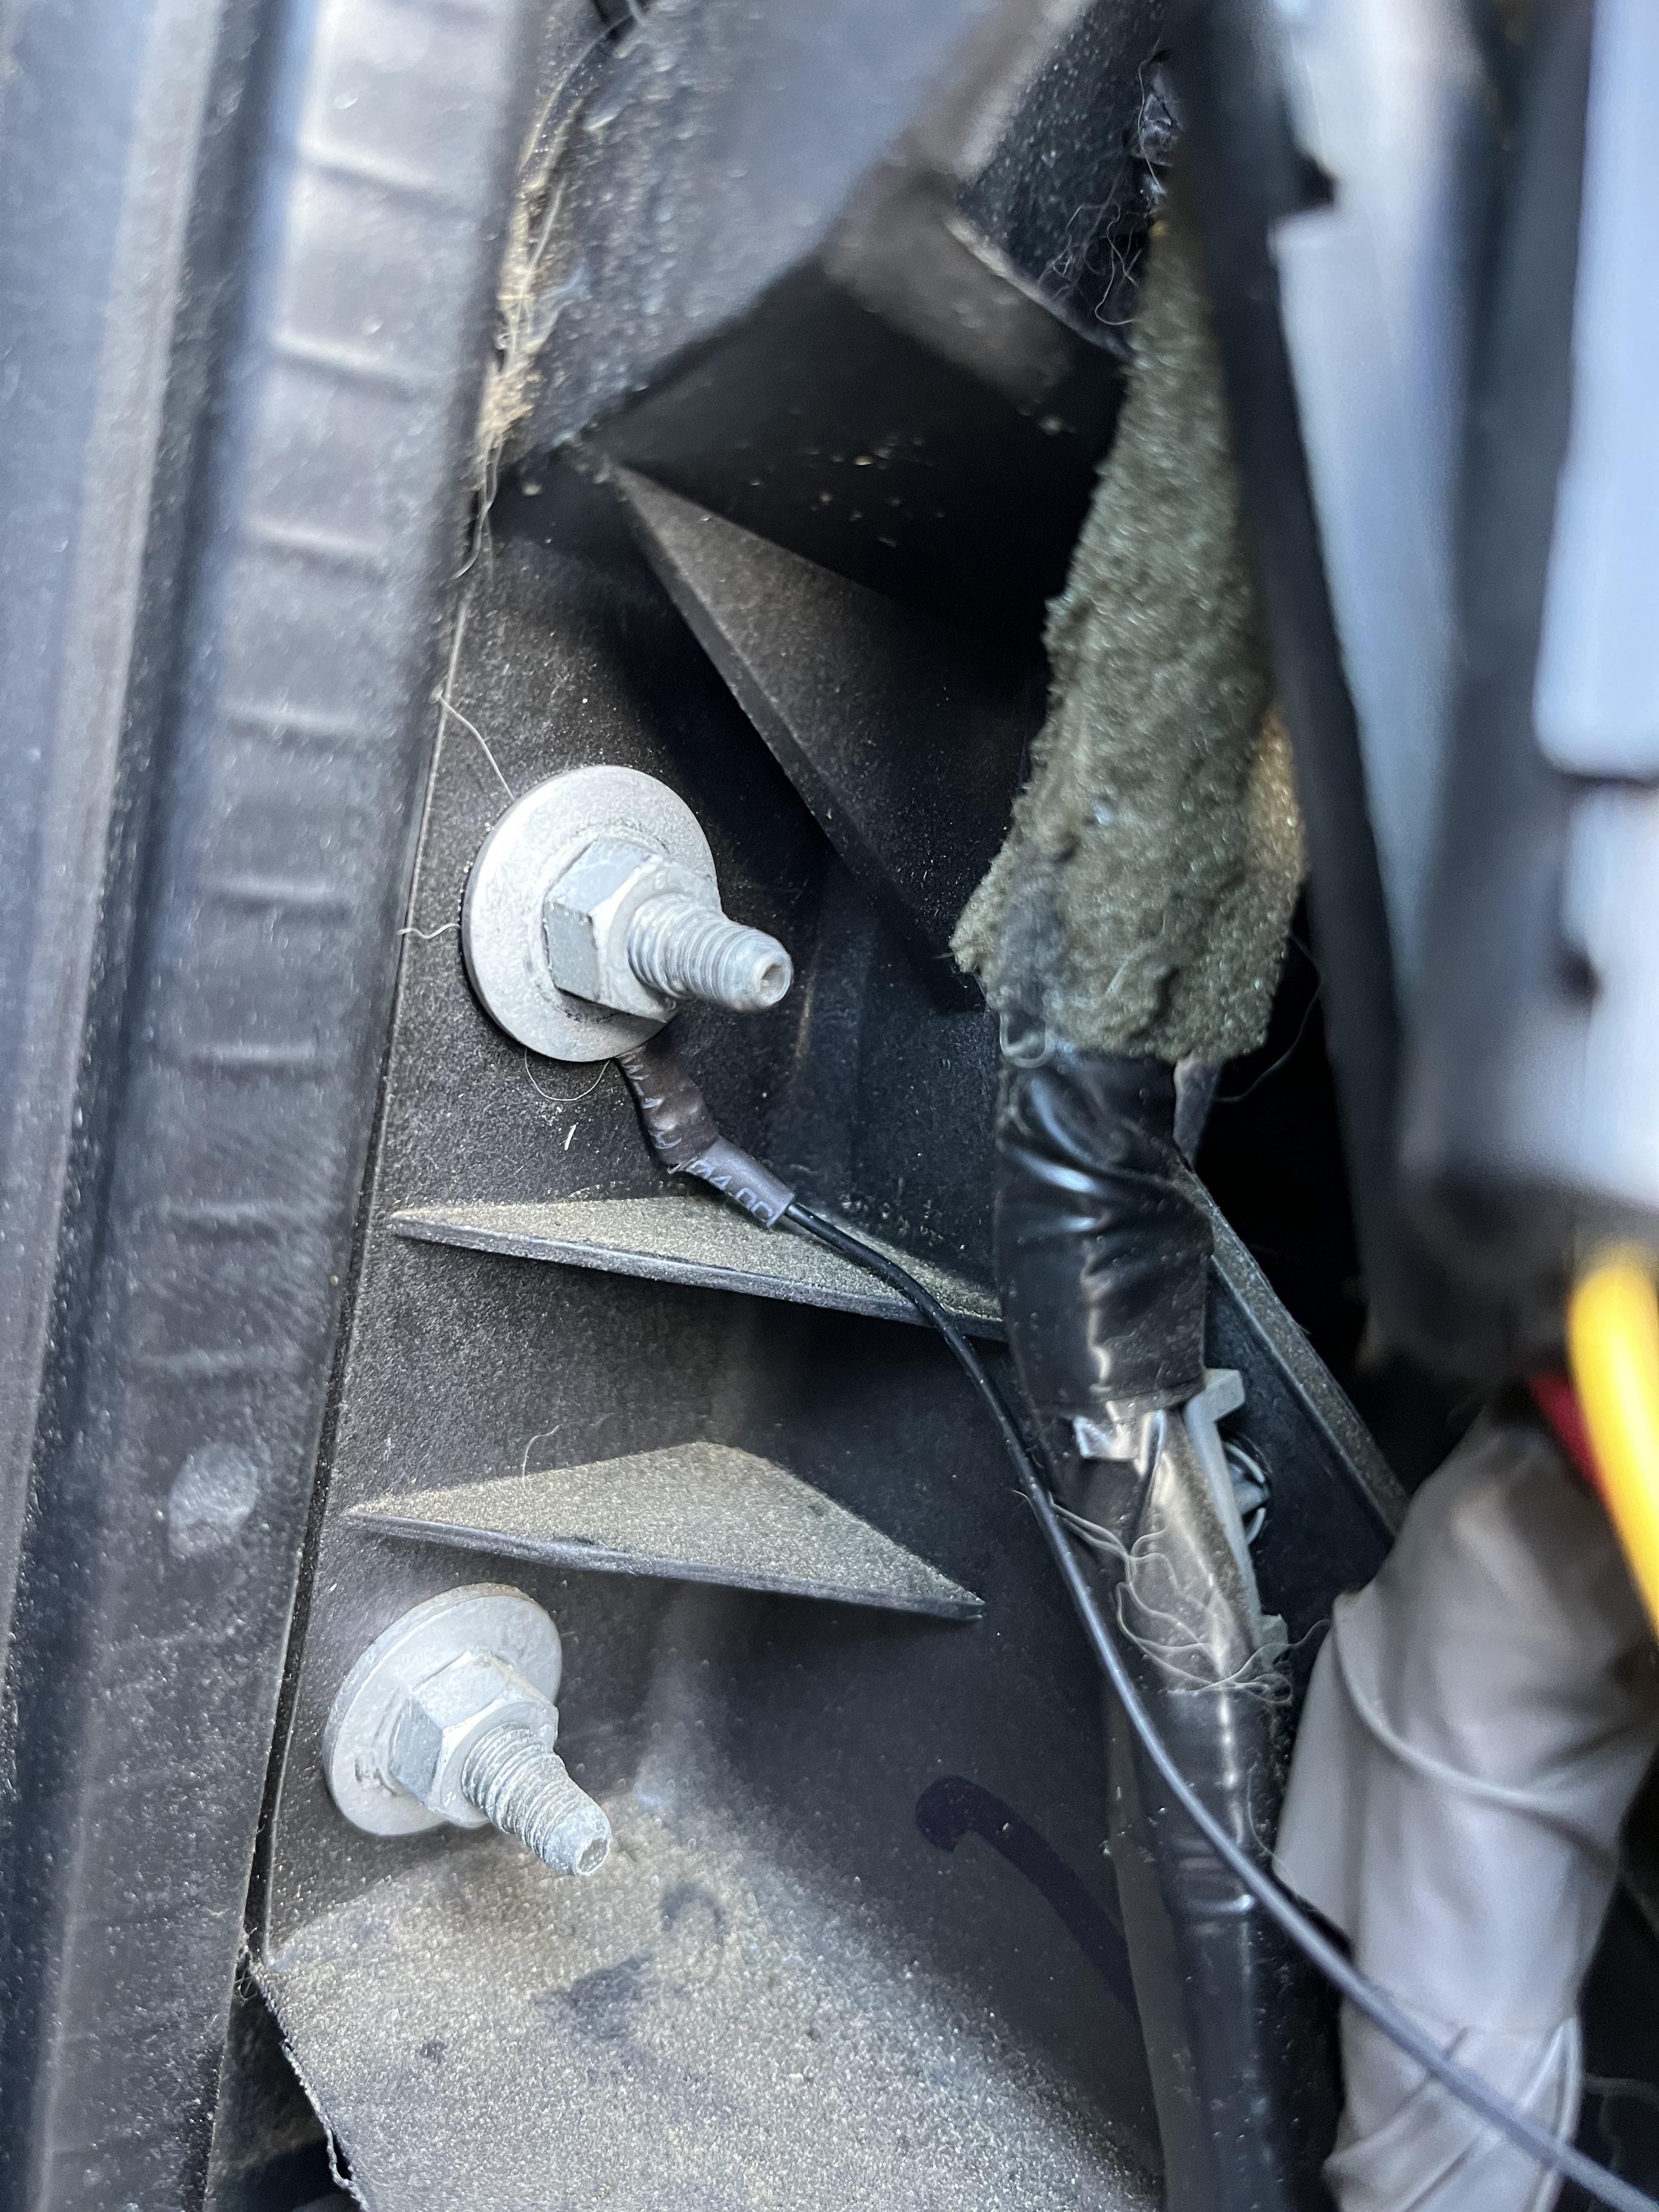
You can also see in the background that I also used the same lug to attach my ground wire.
Now, what has got me confused is when I composed my post and linked to the fuse taps I used, Amazon showed me buying these twice and both times corresponded with the time I installed each of my two dash cams.
I haven't bought any more of these for any other purpose, so there lies my confusion.
All I can figure is there may have been a product change since the last time I purchased one.
Sorry about that.
I will follow your links in the future should I need any additional taps.
I will also edit the link out of my post to not send anyone else off to a bad link.
Problem is, I have provided these links when this subject was discussed both here and online before.
I do try to provide good information.