
Blackcomb
Full Member
Looks great, welcome to the club. ")
MS03 2500 said:Those look nice.
Blackcomb said:Looks great, welcome to the club.
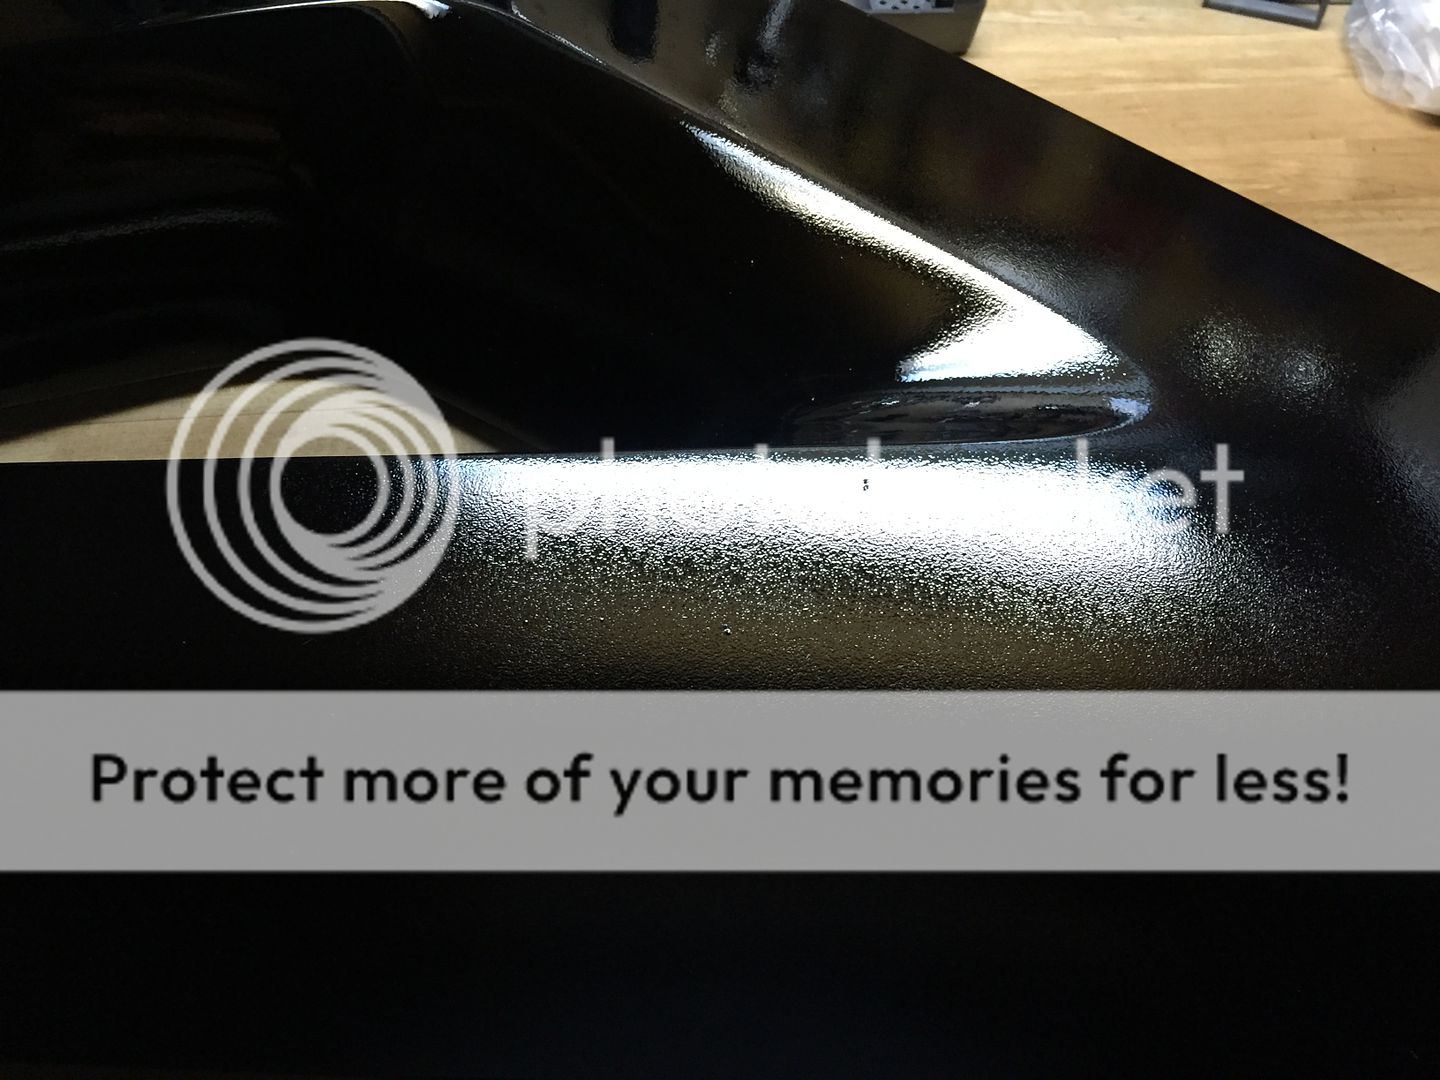

old skool said:I knew things were going too good yesterday. Today I had a problem with the clear coat. Put on two coats and then on the third...not sure if the gun clogged or what, but the clear bogged down and the air pressure and loss of clear produced this effect.
Can this be fixed with sanding, or am I going to have to do this again?

 I'll have to repaint that one. 1 mix Guess I was in too much of a hurry to get done. Redone the pieces that were screwed up and they came out much better.
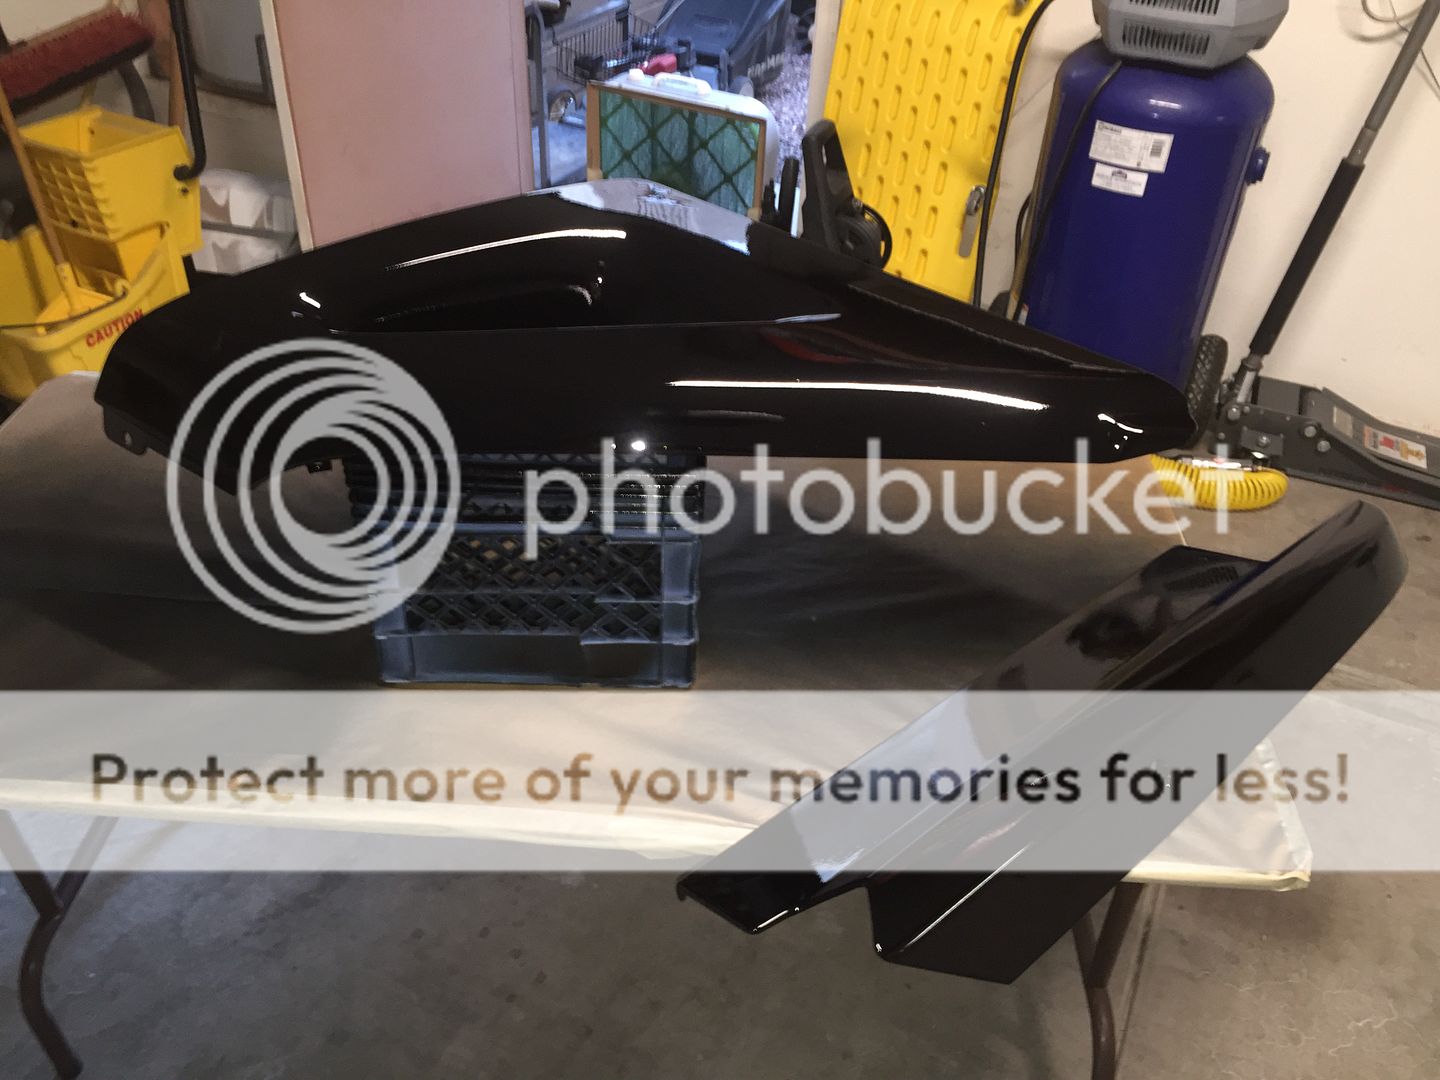
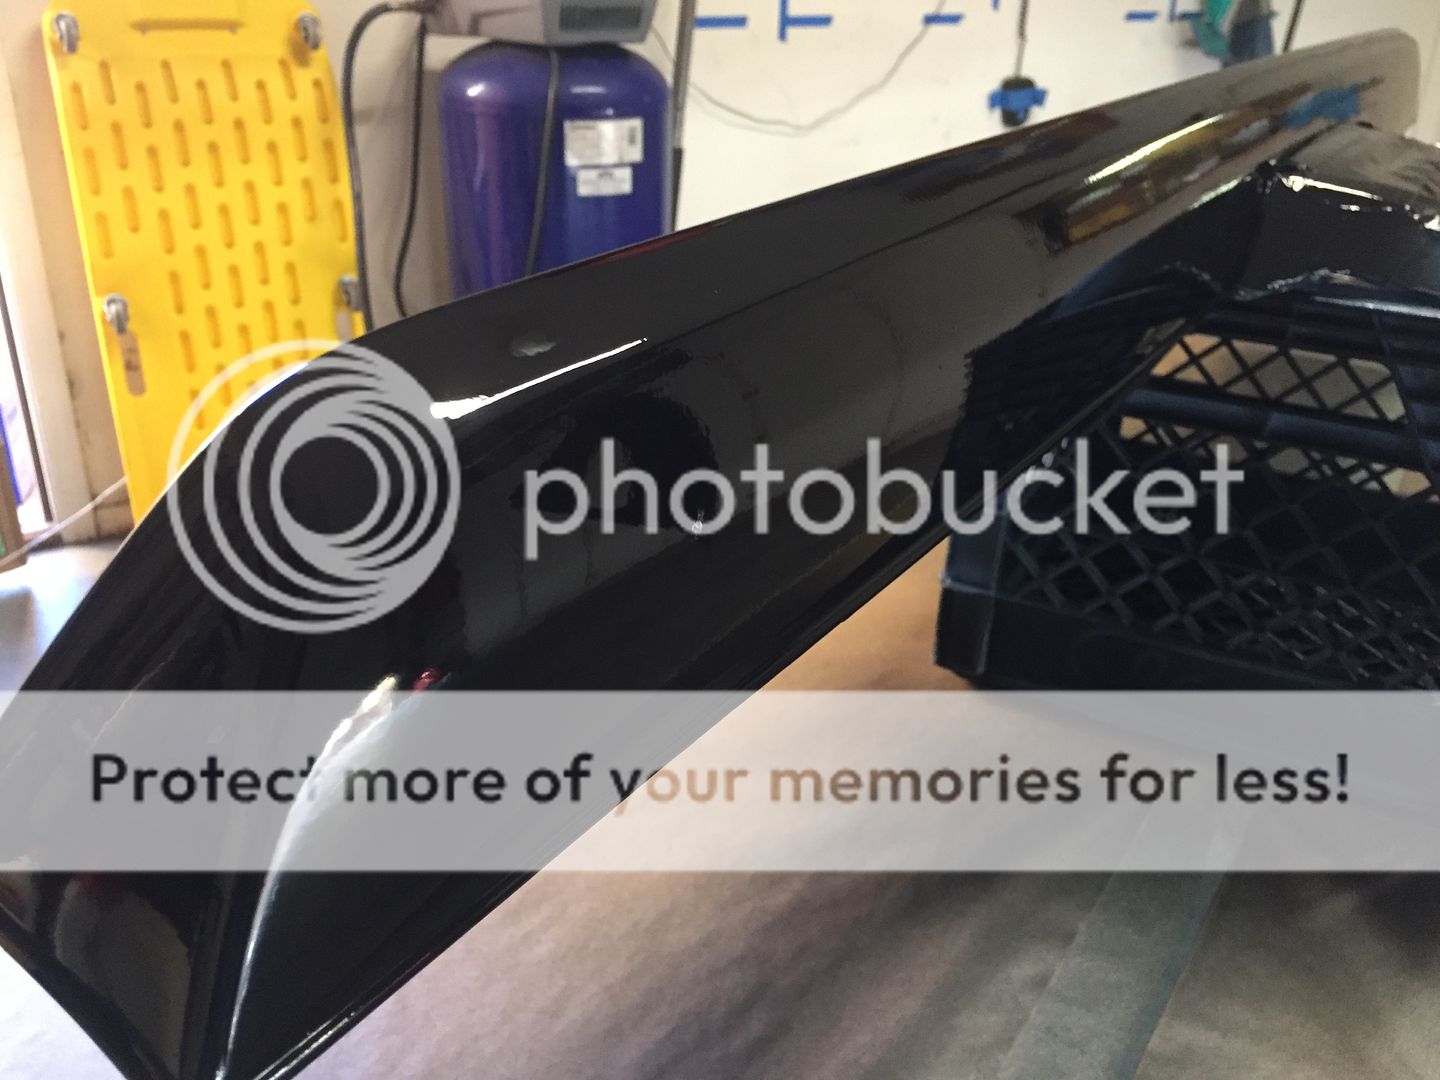 much better
Blackcomb said:Looks sexy. Your going to love how much nicer it is to care for now.
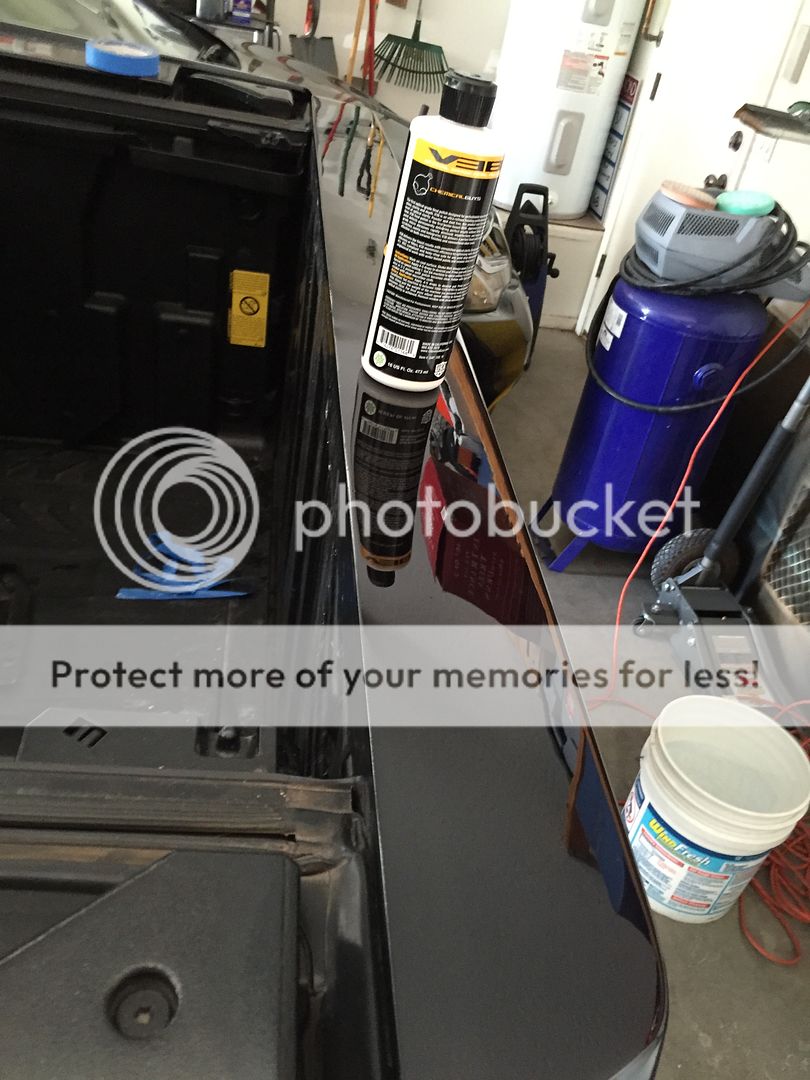
Blackcomb said:If anyone chooses to undertake this I encourage careful sanding, it is a PITA but worth it in the long run. And I would do it over again in a heartbeat, it looks so much nicer than the textured plastic, and still looks different than the Cadi because the lines are softer.